
Last updated November 15, 2026
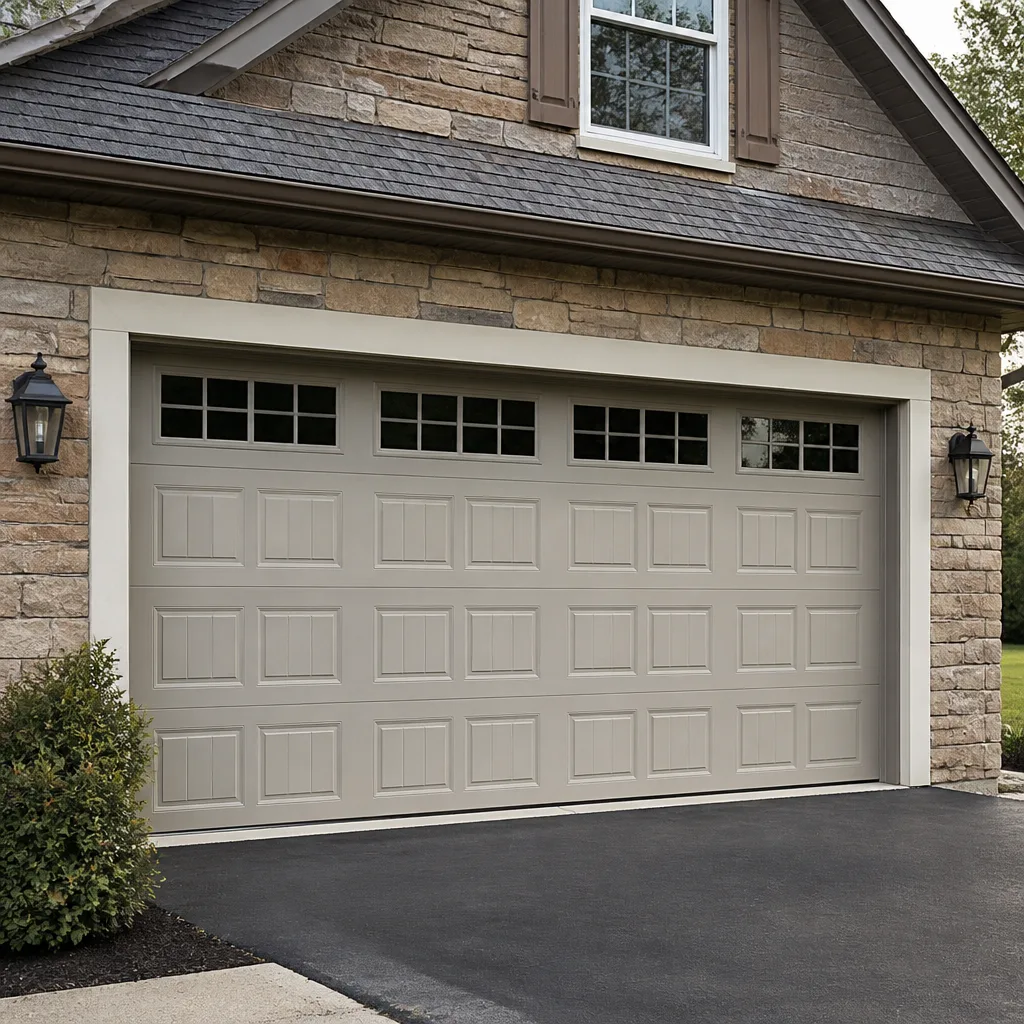 Raised-panel steel
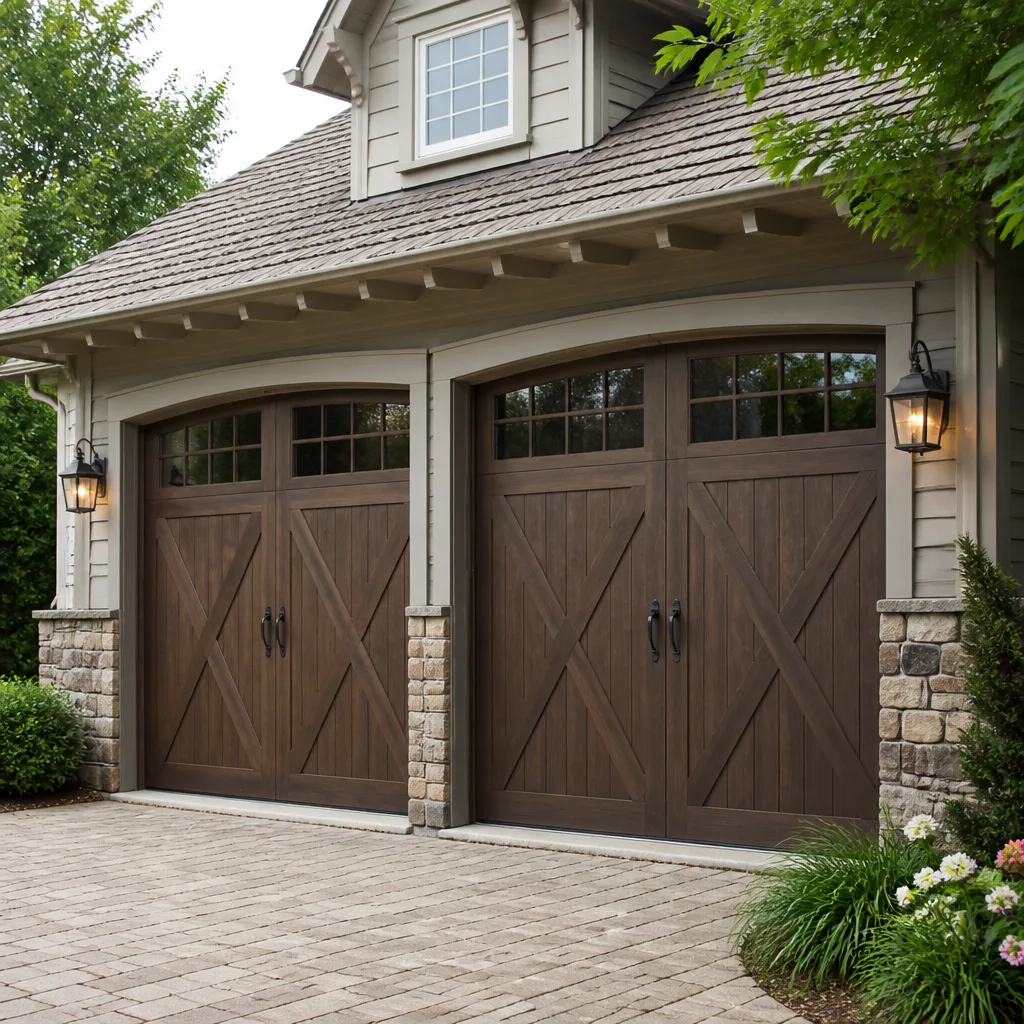 Carriage house
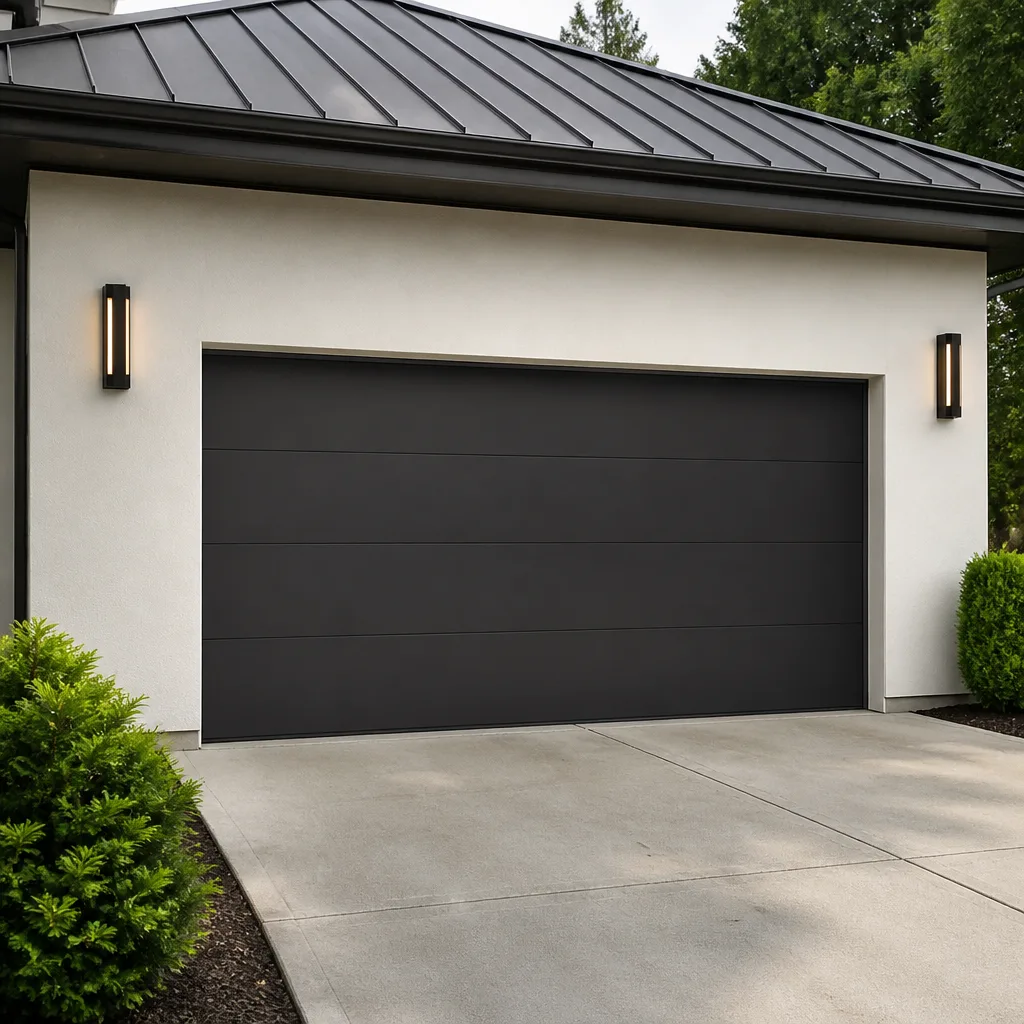 Modern flush
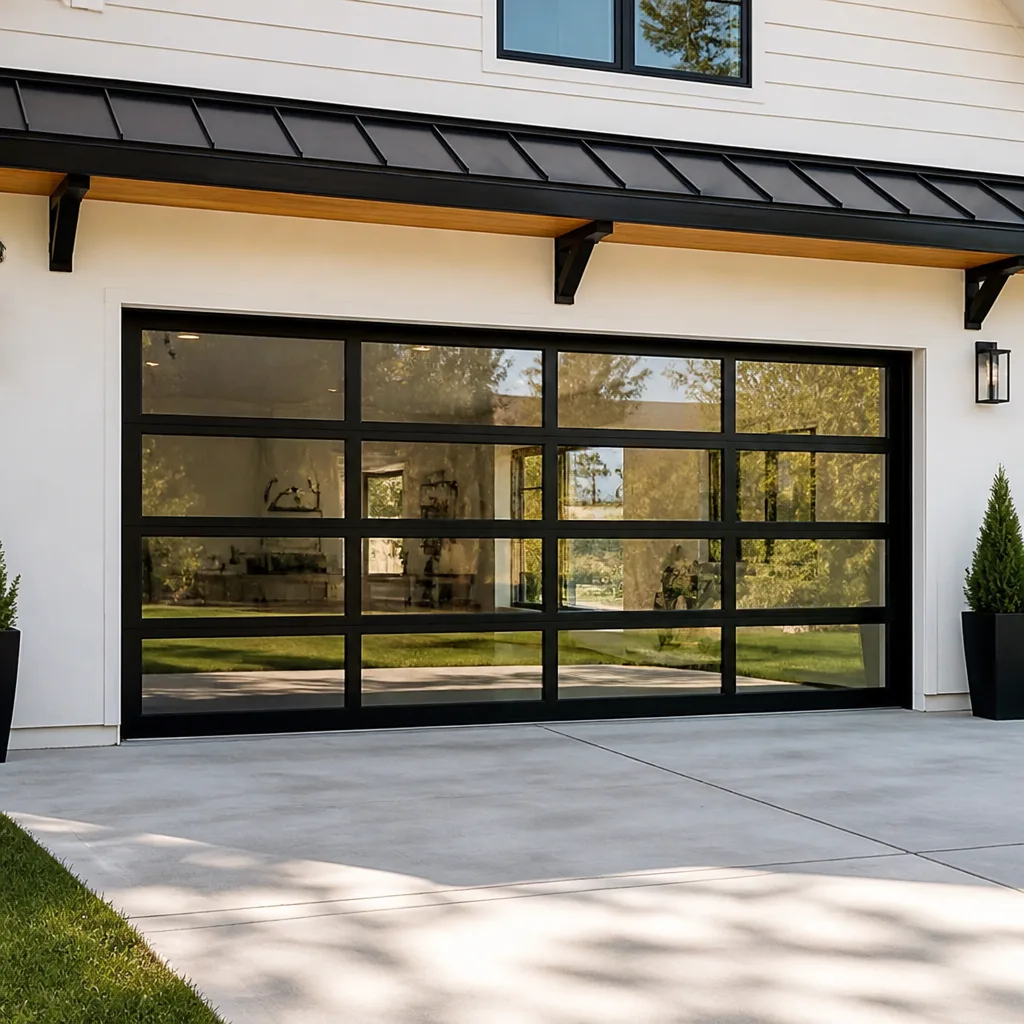 Full-view glass
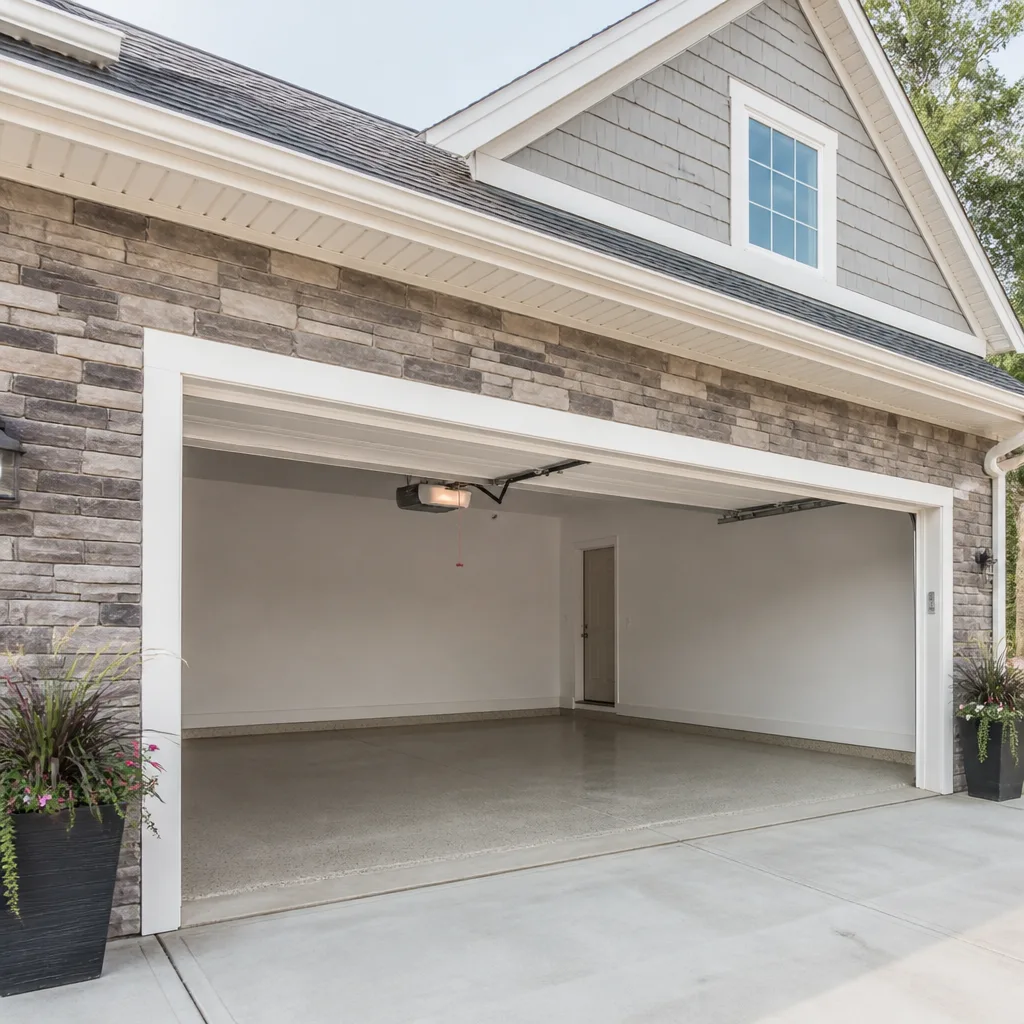 LiftMaster openers
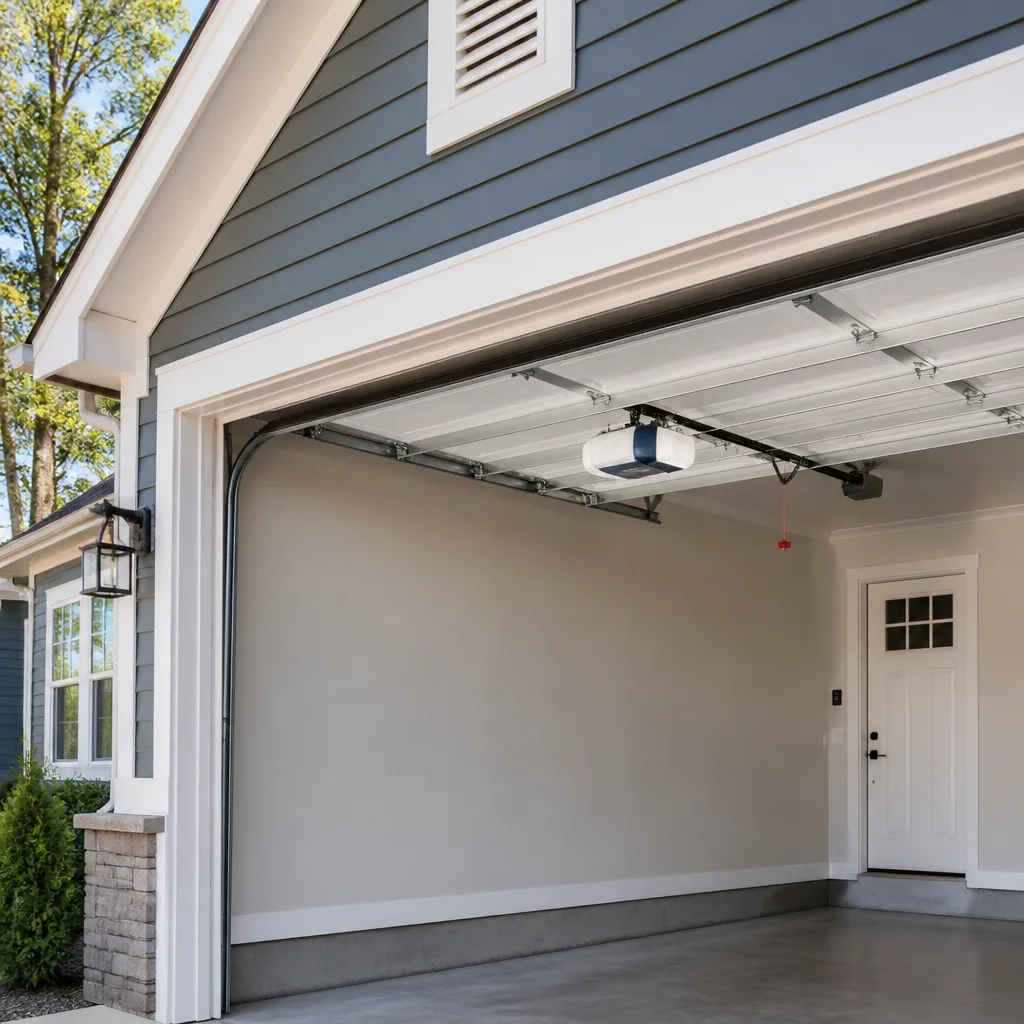 Chamberlain openers
Full 25-point door and opener safety check with every visit - springs, cables, rollers, tracks, and your LiftMaster or Chamberlain opener included
You get a price before we start. It does not change when the pro arrives.
Get your free estimateGarage Door Repair Maintenance Checklist for Greensboro Homeowners
Most garage door failures don’t happen without warning. They announce themselves first – a roller that starts rumbling, a door that drifts down a few inches after you lift it, a bottom seal that’s gone stiff. The problem is that nobody’s listening, because the door is the one part of the house we never look at. This guide is a working checklist you can run through in about twenty minutes twice a year, built around the failure patterns we actually see on doors across Greensboro. Some steps are yours to do safely. Others are strictly hands-off. We’ll draw that line clearly, tell you what a pass and a fail look like for each task, and explain what the Greensboro humidity swings between winter and summer do to specific parts of your door.
Quick Answer
A garage door maintenance checklist for Greensboro should cover six things twice a year: a visual inspection of springs, cables, rollers and hinges; a manual balance test with the opener disengaged; a check of the bottom seal and weatherstripping; lubrication of moving metal parts with the right product; a safety-reverse test; and a listen-and-watch test of the opener and door travel. You can safely do the inspection, lubrication, seal check and safety test yourself. Springs, cables and any adjustment of spring tension belong to a trained technician only. If the balance test fails, stop using the door and book a service call.
Styles & brands we work with
- Raised-panel steel
- Carriage house
- Modern flush
- Full-view glass
- LiftMaster openers
- Chamberlain openers
Table of Contents
- Why Twice a Year, and Why Greensboro’s Climate Sets the Schedule
- What You Can Safely Inspect and What You Should Never Touch
- The Full Checklist, Task by Task, With Pass and Fail Criteria
- How to Run a Manual Balance Test and What It Tells You About Your Springs
- What Humidity Swings Do to Seals, Wood Panels and Cables
- Opener Checks: Safety Reverse, Travel Limits and Smart Systems
- Red Flags That Mean Stop Using the Door vs. Findings That Can Wait
- Building a Maintenance Calendar Around Your Door
Why Twice a Year, and Why Greensboro’s Climate Sets the Schedule
Twice a year is the right cadence almost anywhere, but in Greensboro the two visits matter for different reasons. The spring check catches what winter did. The fall check prepares the door for the cold, wet stretch ahead. Between those two points, the air over the Piedmont swings from humid summer afternoons to dry, cold January mornings, and that swing works on your door’s materials in ways that a door in a steady climate never experiences.
Here’s what actually happens. Wood panels and wood-composite doors absorb moisture through the summer and swell slightly. Joints tighten. Paint films stretch. Then winter pulls the moisture back out and the panels shrink. Do that cycle year after year and you get hairline cracks at the panel seams, paint that lifts along the bottom rail, and hinges that work loose because the screw holes have enlarged. Steel doors don’t escape either: steel expands and contracts with temperature, and any scratch that’s reached bare metal starts to rust faster in a humid Greensboro summer than most homeowners expect.
Then there are the parts that fail on a predictable clock regardless of weather. Torsion springs are rated in cycles, and a door used four times a day racks up around 1,460 cycles a year. Rollers wear. Cables fray. The bottom seal hardens and stops sealing. None of this is dramatic until it is. A checklist run in spring and again in fall keeps you ahead of the curve, and it’s the single cheapest habit in home maintenance relative to what it prevents.
One more thing worth saying plainly: the checklist is not a substitute for a technician’s inspection. It’s a filter. It tells you whether your door is healthy, borderline, or ready for a service call.
What You Can Safely Inspect and What You Should Never Touch
This is the most important section in the guide, so read it before you touch anything.
Yours to handle: visual inspection of the whole door from the floor, lubrication of rollers, hinges, and the opener rail, the bottom seal check, the weatherstripping check, the manual balance test (with the opener disengaged), the safety-reverse test, cleaning the photo-eye lenses, tightening hinge and bracket bolts that are accessible from the floor or a step ladder, and listening to the door as it runs.
Technician only: anything involving the torsion spring, the extension springs, the cables, the drums, the bottom bracket, or the track alignment. Never adjust spring tension, never try to loosen or tighten the set screws on a spring winding collar, and never reach up to reposition a cable that has come off a drum.
Why the hard line? A torsion spring under tension stores an enormous amount of energy. When one lets go – and they do, eventually, on every door – the release is violent and immediate. Garage door springs and cables are among the few household components that can cause serious injury in a fraction of a second, and there’s no partial version of the work. If your inspection turns up a spring or cable problem, the door stays down until a technician gets to it.
We work on doors from LiftMaster, Chamberlain, Genie, Clopay, Amarr, Wayne Dalton, Craftsman, and Raynor, and the safety rule is identical on every one of them. There’s no brand of spring that’s safe to adjust from a ladder. If you’re ever unsure whether a task falls on your side of the line, treat it as a technician job and call us to ask.
The Full Checklist, Task by Task, With Pass and Fail Criteria
Run these in order. You’ll need a step ladder, a rag, a spray lubricant made for garage door hardware (not WD-40 as a lubricant, and not grease), and about twenty minutes.
- Walk the door from the floor. Look at both sides and the center. Pass: panels are straight, no dents, no seams separating, no rust blooming on bare metal. Fail: a panel is bent, a seam has opened, or rust has reached the metal. Bent panels stress the rest of the hardware and are worth a professional look.
- Look at the springs without touching them. Torsion springs sit on the shaft above the door; extension springs run alongside the tracks. Pass: springs are whole, with no visible gap in the coil. Fail: a visible gap of an inch or more in a torsion spring coil means the spring has broken. Stop. Don’t run the opener.
- Check the cables. They run from the bottom corners up to the drums. Pass: cables are taut, straight, and free of fraying or kinks. Fail: a frayed cable, a cable that looks slack, or a cable that has come off its drum. This is a stop-use finding.
- Check the rollers. Pass: rollers turn freely and the roller stems are seated in the hinges. Fail: a roller that’s flat-spotted, cracked, or doesn’t spin. Steel rollers wear faster than nylon; if you have a mix, that’s a sign of a partial replacement in the past and worth a full review.
- Check the hinges and bolts. Pass: hinges are tight, no wobble. Fail: a hinge that moves when you nudge it, or bolts that turn by hand. Tighten what you can reach safely.
- Lubricate. Spray the roller stems, hinge pivots, and the opener rail. Don’t spray the tracks themselves – tracks should be clean and dry, and lubricant in the tracks attracts grit.
- Check the bottom seal and weatherstripping. Pass: the seal is pliable and sits flush to the floor across its width. Fail: the seal is hard, cracked, torn, or you can see daylight or feel a draft under it. In Greensboro this matters in both directions – a bad seal lets summer humidity in and winter cold air in.
- Run the balance test. Full instructions in the next section. Pass: the door stays where you leave it and lifts with one hand. Fail: the door drops on its own, rises on its own, or feels heavy. Stop-use finding.
- Run the safety-reverse test. With the door closing, pass a broom handle or a piece of 2×4 flat under it. Pass: the door reverses on contact. Fail: it doesn’t. Stop using the door until the opener is adjusted.
- Test the photo eyes. With the door closing, wave your leg through the beam. Pass: the door reverses. Fail: it doesn’t, or the opener light flickers without reversing – clean the lenses first, then call if the problem persists.
- Listen. Close your eyes and run the door once. Pass: a steady, even hum and a soft roll. Fail: grinding, squealing, popping, or a rhythmic thump. Each sound points to a different part and each is worth a professional look.
- Watch the opener light. Most openers flash a code when they detect a problem. Look up the code in the manual – a LiftMaster or Craftsman unit will flash differently than a Genie, and the code tells you what the opener thinks is wrong.
How to Run a Manual Balance Test and What It Tells You About Your Springs
The balance test is the single most useful thing you can do to your door, and it’s also the one most homeowners have never heard of. It tells you how much work your springs are still doing, and that tells you how much life they have left.
How to do it:
- Close the door fully.
- Pull the red release handle on the opener rail to disengage the door from the opener. The door is now manual.
- Lift the door by hand to about waist height. It should feel like a door, not like lifting a piano. A well-balanced door takes light effort.
- Let go. The door should stay exactly where you left it.
- Push it down to about knee height and let go again. It should hold there too.
- Lift it fully open and let go. It should stay open on its own.
- Re-engage the opener by pulling the handle back and running the opener once to reconnect.
What the result means. If the door drifts down on its own, the springs have weakened and the opener is doing the springs’ job. That’s the situation that shortens spring life dramatically, because every open and close is now working the spring harder than it should. If the door wants to rise on its own, the springs are over-tensioned or oversized. If the door feels heavy and needs two hands, the same conclusion applies: the springs are losing tension and the opener is compensating. Either way, an out-of-balance door is a service call, not a homeowner adjustment.
In our experience, a door that fails the balance test but still opens is on borrowed time. Springs don’t gradually fade – they break, usually at the worst possible moment, and it’s not unusual for the opener’s plastic gear to strip at the same time. If the balance test fails, use the door on manual, or not at all, until a technician looks at it.
What Humidity Swings Do to Seals, Wood Panels and Cables
Greensboro sits in the Piedmont, and the summer-to-winter swing here is rougher on garage doors than most homeowners assume. Here’s what that swing does to three specific components.
Bottom seals. The rubber or vinyl seal along the bottom of the door is the first thing to harden. A summer of high humidity, then a cold, dry winter, then another summer – the plasticizers work their way out of the material and the seal goes stiff. You can’t see this from behind the wheel of the car; you have to get down on the floor and squeeze it. If it feels like a plastic ruler instead of a rubber gasket, it’s done. A failed seal lets humid air into the garage in summer, which raises the moisture load on everything inside – the door’s wood panels, the stored tools, the framing. In winter it lets cold air in, which costs you on heating.
Wood and wood-composite panels. The cycle of swelling in humid months and shrinking in dry ones works on the joints between panels and along the bottom rail. Paint cracks first at the seams and along the bottom, because those are the places where water pools and where the panel moves most. Once paint cracks, water gets in, and the wood behind the paint starts to fail. The fix is early and cheap: touch up the paint at the bottom rail and along the seams each fall before the cold sets in.
Cables. Cables are galvanized steel, and galvanized steel in a humid garage will eventually show surface rust. A little surface oxidation on the outer wires is cosmetic; a cable that’s frayed, kinked, or has broken strands is not. Run your eyes along each cable from a safe distance every spring and fall. If you see more than a light dusting, or any strand separation, that’s a technician call.
You don’t need to do anything exotic to work with the Greensboro climate. You need to run the checklist in the right months, keep the paint intact, and replace the seals when they go stiff rather than waiting for them to fail completely.
Opener Checks: Safety Reverse, Travel Limits and Smart Systems
The opener is where the checklist intersects with how the door behaves every day, and small misses here show up as intermittent problems later.
- Safety reverse. Test it every checklist run. Most residential openers comply with the current reverse-on-contact requirement, but only as long as the force settings are still within spec. Force limits drift as the door’s hardware wears.
- Photo eyes. Clean the lenses with a soft cloth. Check that the light on each eye is steady – a flickering light means the beam is being interrupted or the alignment has moved. Photo eye misalignment is one of the most common reasons a door won’t close.
- Travel limits. The door should close fully to the floor and stop. It should open fully and stop. If it’s hitting the floor hard or stopping an inch short, the travel limit is off and the opener is straining against the stop – a fix that’s a training task, not a hardware replacement.
- Battery backup. If your opener has one (many LiftMaster, Chamberlain, and newer Genie units do), test it once a year by pulling the wall plug and running the door. If it doesn’t run, the battery needs replacement.
- Smart remotes. With Wi-Fi and app-connected openers, check that the app still reports door status accurately and that scheduled alerts are firing. Firmware updates occasionally change behavior, and the fix is usually in the settings rather than the hardware.
- Rail and chain or belt. Look at the rail; if it’s bent or the chain is slack enough to slap the rail, that’s a service call. A belt drive will tell you by squeaking; a chain drive will tell you by rattling.
If the opener has ever flashed a code you didn’t understand, write it down on the checklist and look it up in the manual – a Genie that blinks and a LiftMaster that blinks are telling you different things, and the code narrows the problem to a component or a zone.
Red Flags That Mean Stop Using the Door vs. Findings That Can Wait
Some findings mean the door is unsafe and should not be cycled at all. Others are scheduled maintenance. Knowing which is which is the point of the checklist.
Stop using the door immediately:
- A visible gap in a torsion spring coil, or a snapped extension spring.
- A frayed, slack, or off-drum cable.
- A door that fails the balance test by more than an inch in either direction.
- A door that fails the safety-reverse test and doesn’t reverse on contact.
- Any grinding or popping sound from overhead.
- A door that’s visibly out of the tracks, even by a fraction of an inch.
Can wait for a scheduled service visit:
- Worn rollers, especially the steel rollers.
- Hinges that work loose but haven’t stripped.
- A bottom seal that’s stiff or torn.
- Rust spots on bare metal that haven’t penetrated.
- Peeling paint along the bottom rail.
- An opener that flags a code but still cycles safely.
- Weatherstripping along the sides that’s lost its spring.
The distinction isn’t dramatic in practice. If a finding is on the first list, close the door on manual operation – if it’s currently open – and leave it. If it’s on the second list, write it down and book a service visit before the next season turns over. When you do call, mention which list the finding came from; it saves time and gets the technician the right parts.
Building a Maintenance Calendar Around Your Door
Twice a year is the baseline, but the specific months matter for Greensboro. Rack the schedule and the door mostly takes care of itself.
- Spring visit – March or early April. Run the full checklist. This is the visit where you catch winter’s damage: paint cracks at the bottom rail, rust spots, seal stiffness, off-balance doors. Fix those before the humid summer.
- Fall visit – October or November. Run the full checklist again. This is the visit where you prepare for winter: touch up paint at the seams and bottom rail, replace a stiff seal, tighten hinges, and check the balance one more time.
- Yearly: opener battery backup. Test it every fall. It’s a five-minute test and it’s the difference between a working door in a power outage and a car trapped in the garage.
- Yearly: track alignment check. Look down each track from the top. It should be straight and parallel. Any evidence that the track has been bumped or pushed means a call.
- After any unusual event. A car nudged the door. A windstorm pushed something into the panel. A child hung on the door. Run the checklist before the door gets cycled again – a slightly bent panel is a straightening job now and a hardware replacement later.
You don’t have to do all of this yourself. Many Greensboro homeowners run the visual parts twice a year and book one professional service visit in the fall. That’s a perfectly good split – it keeps you ahead of the parts that are yours to watch and puts a trained eye on the parts that aren’t.
Common Mistakes to Avoid
- Spraying lubricant in the tracks. Tracks should be clean and dry. Lubricant in a track collects grit and turns into a grinding paste that wears rollers out. Lubricate the moving metal parts, not the rails.
- Skipping the balance test because the door opens fine. A door that opens fine on the opener is the exact door that’s on borrowed time. The balance test is how you find out how much work the springs are still doing.
- Adjusting spring tension after watching a video. This is the biggest mistake homeowners make, and it’s the one that puts people in a hospital. Spring tension belongs to a technician. Call us before touching the spring.
- Ignoring a crack in the seal or a peeling patch of paint. In Greensboro’s humidity swing, small paint failures and stiff seals grow into rotted bottom rails and swollen panels. Fix them early; the cost difference is dramatic.
- Running the door with a bent panel. A panel that’s out of shape bends the hinges and the track on every cycle. Fix the panel first.
- Testing the safety reverse with a hand or a foot. Use a broom handle or a piece of wood. Never put a body part in the door’s path.
- Mixing steel and nylon rollers after a partial replacement. Mixed rollers wear at different rates and change how the door tracks. Replace them in a matched set.
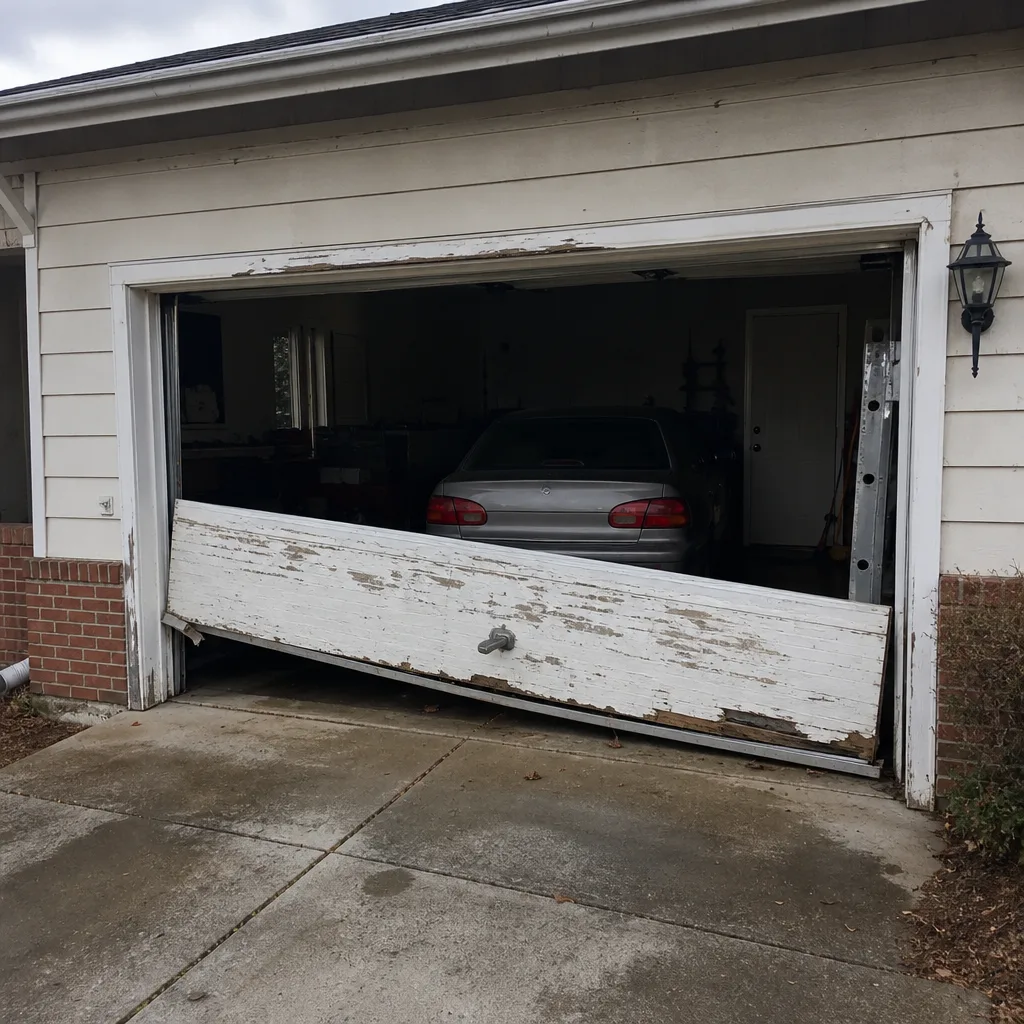
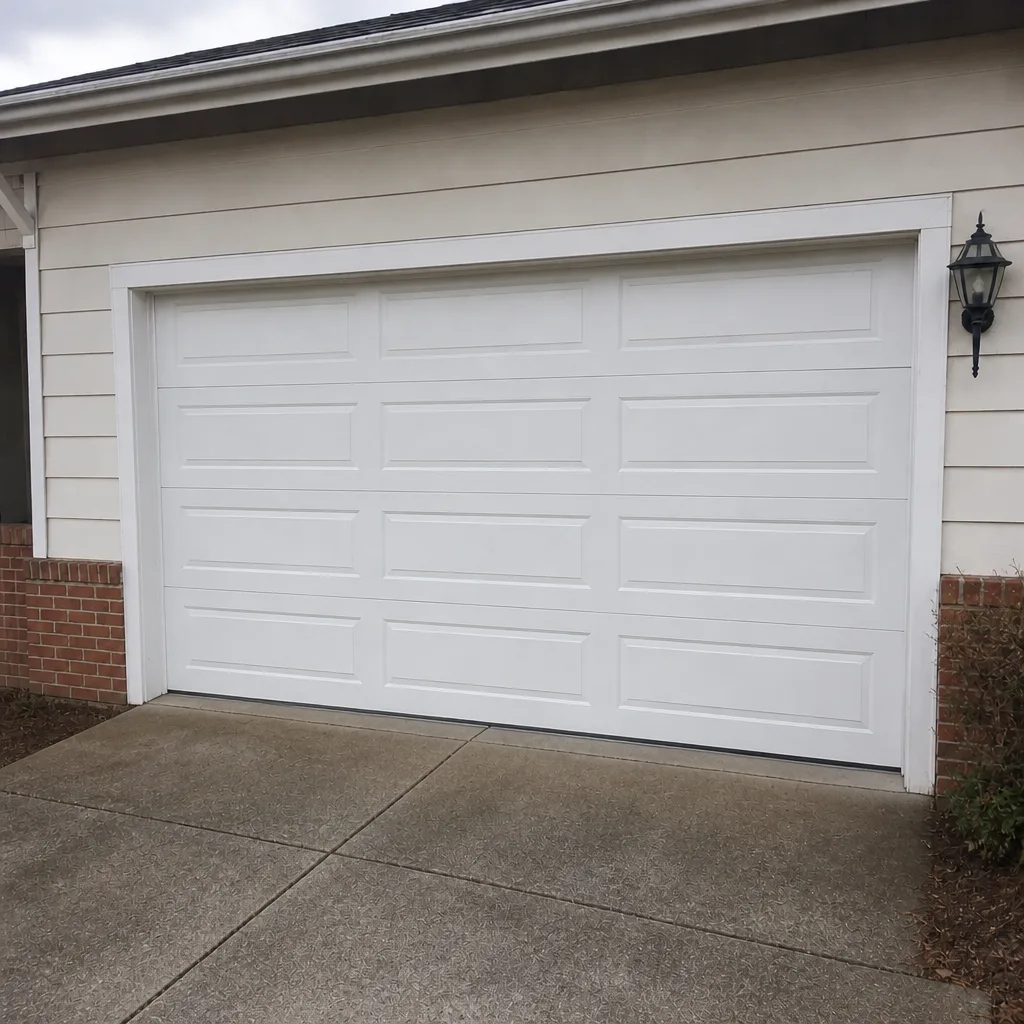
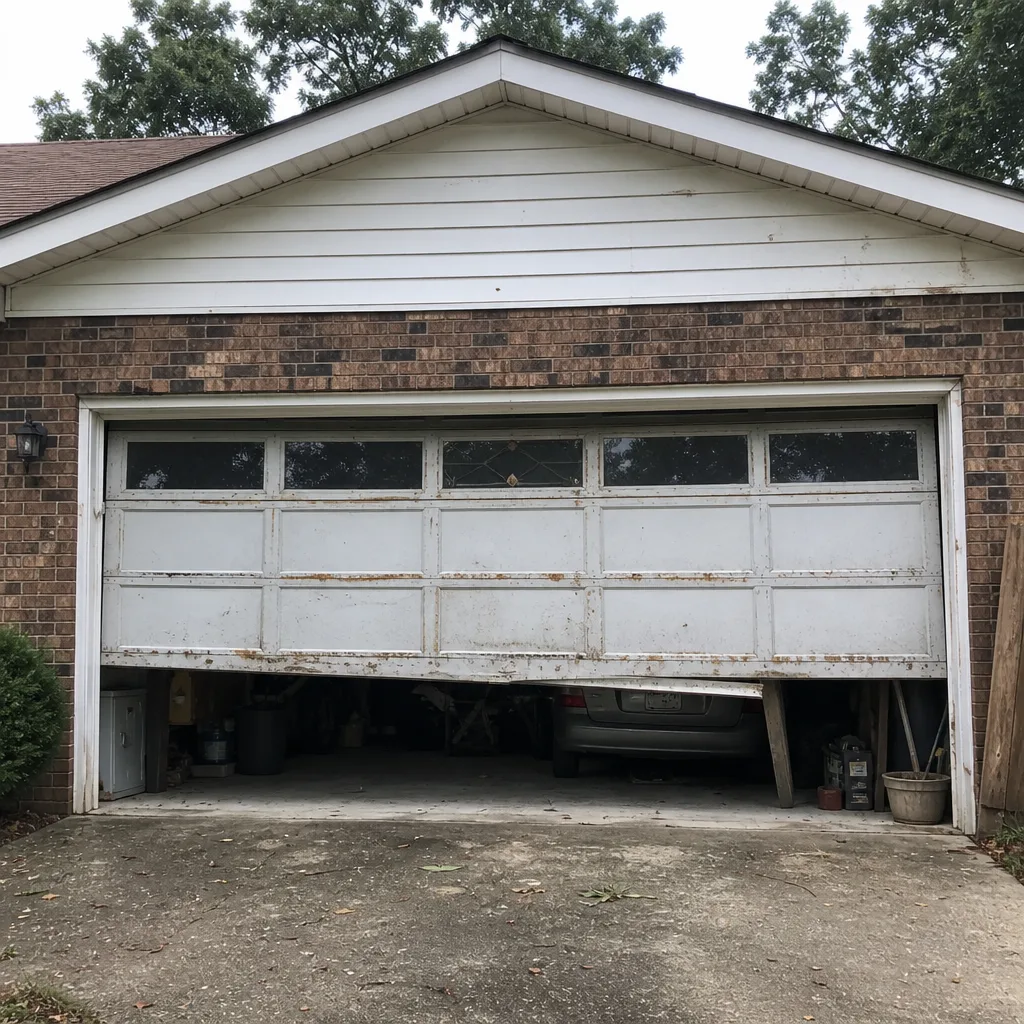
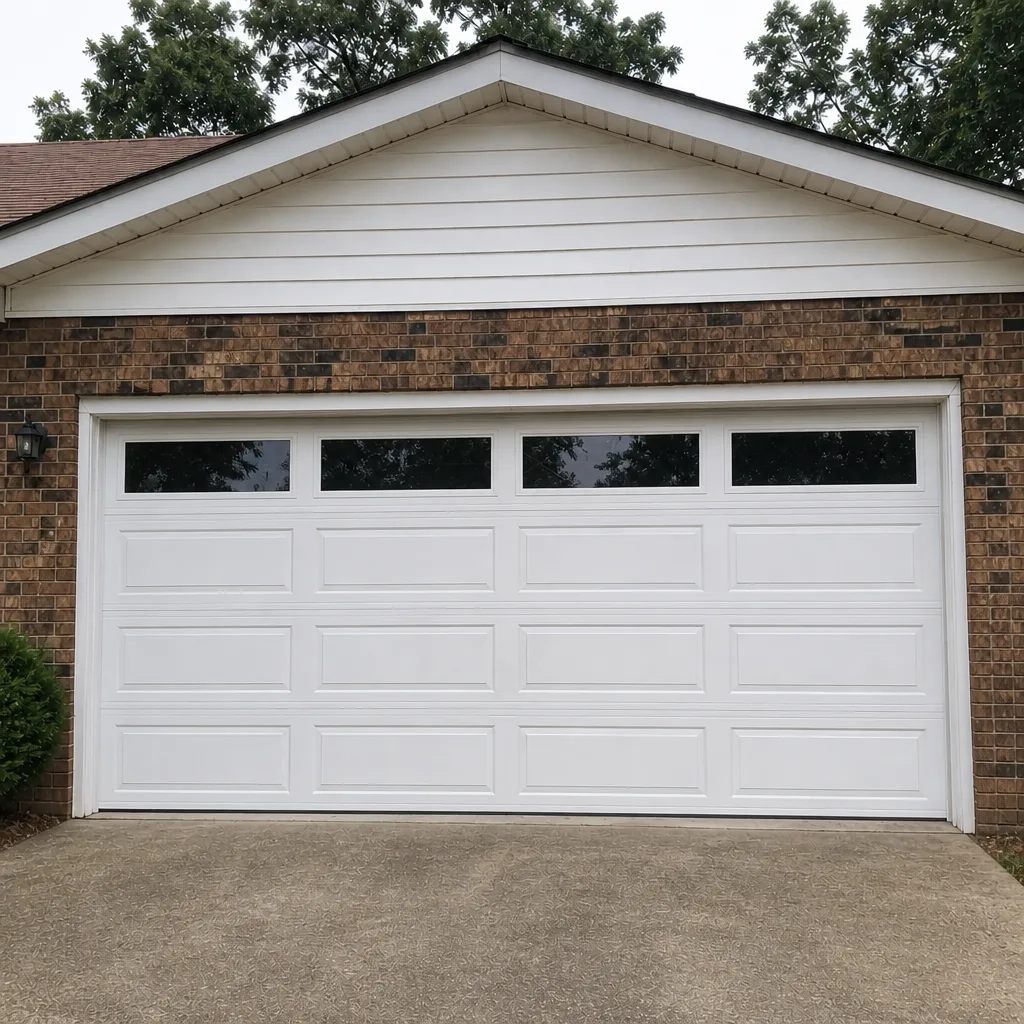
See the difference
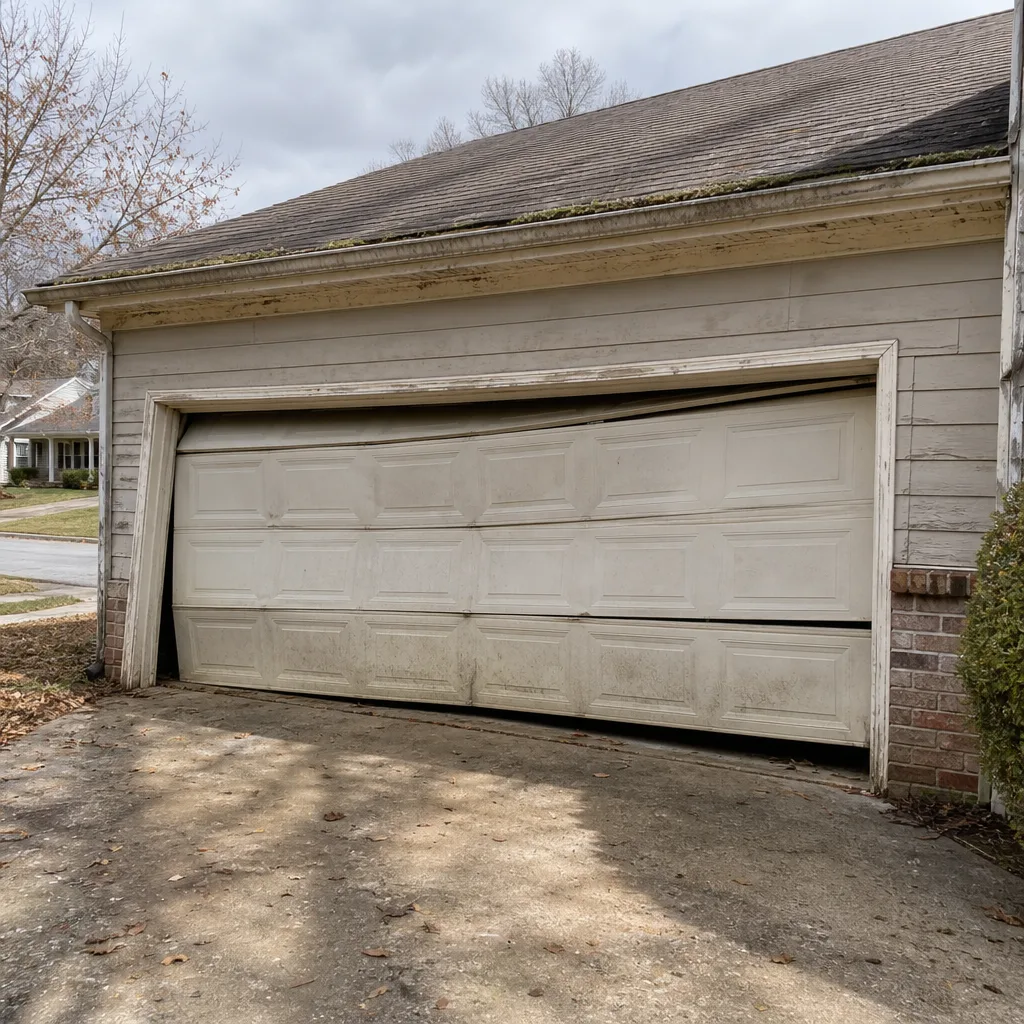 Before
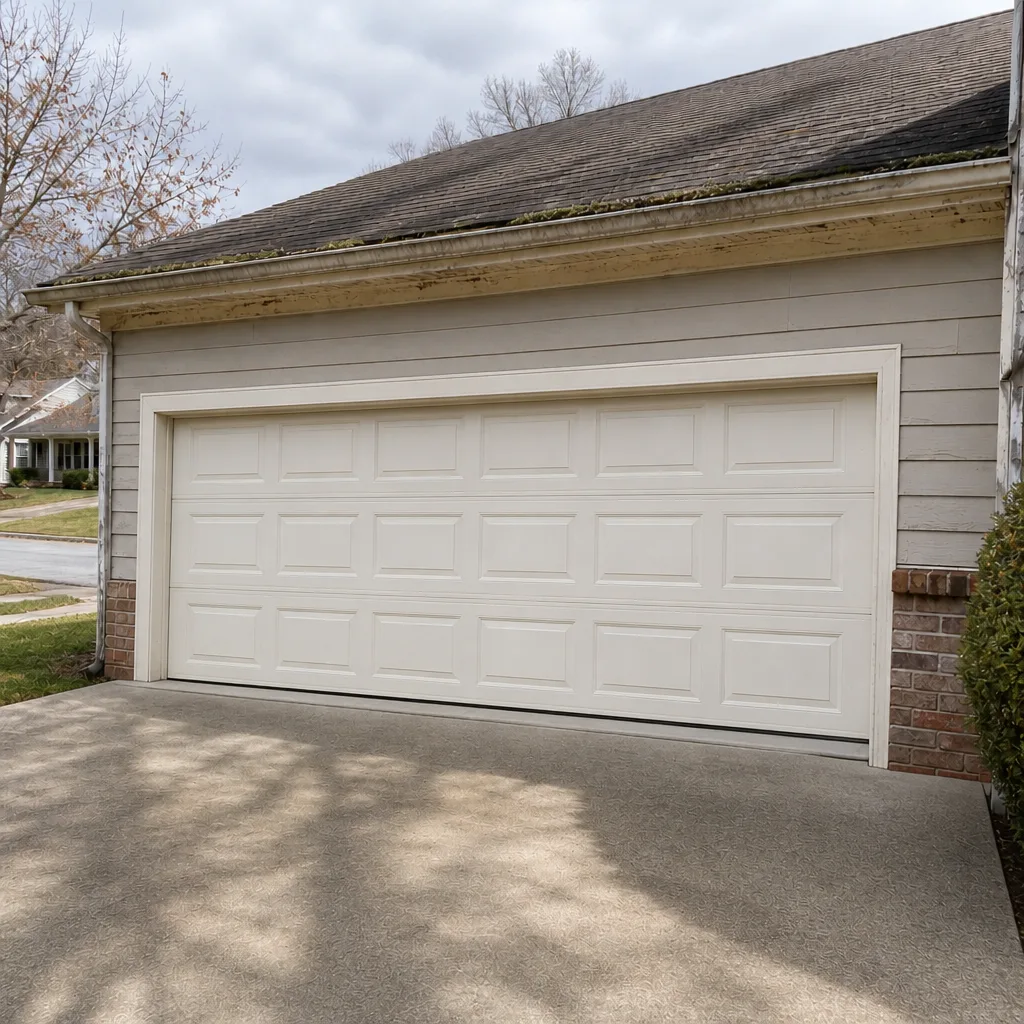 After
 Before
 After
 Before
 After
When to Call a Professional
Call a technician if the balance test fails, if you see a broken spring or a frayed cable, if the door fails safety-reverse, if you hear grinding or popping, or if the door is out of the tracks. Any of those findings means the door should stay off the opener until a trained pair of hands has looked at it. Call for the spring, the cable, the drum, the bottom bracket, or the track – those are all jobs that belong to a technician, and a misstep on any of them can put you or someone in your household in the hospital.
Tandem Garage Door Repair offers free estimates in Greensboro, and our technicians have up to 14 years of experience across the major brands. We work on the door you have, not just the door we’d prefer to sell you. If your checklist turned up a “wait for a scheduled visit” finding, call now and get it on the calendar. If it turned up a stop-use finding, call now and we’ll get a technician out. Call (855) 554-0021. We answer 24/7. Fast dispatch from 7am to 7pm, Sunday through Friday.
Frequently Asked Questions
A proper maintenance visit includes lubrication of the rollers, hinges, and opener rail; inspection of the springs, cables, drums, and bottom bracket; a balance test; a safety-reverse and photo-eye test; travel limit adjustment; tightening of accessible hardware; and a bottom seal and weatherstripping check. It’s the same checklist you’d run yourself for the visual and lubrication parts, done by a technician who can safely inspect and adjust the spring and cable system. Call (855) 554-0021 for a free estimate on a maintenance visit in Greensboro.
Twice a year: once in spring (March or April) and once in fall (October or November). The spring run catches what winter did; the fall run preps the door for the cold, wet months ahead. Greensboro’s humidity swing from summer to winter is the reason the twice-a-year cadence matters here – a door that ignores the seasonal swing develops paint failures, stiff seals, and loose hinges on a faster clock than a door in a steady climate.
You can wipe down the springs with a dry cloth, but do not adjust, loosen, tighten, or attempt to remove them. A torsion spring under load stores enough energy to cause serious injury in a fraction of a second. Lubricating the spring itself is generally fine; touching the winding cones or set screws is not. When in doubt, book a technician. Call (855) 554-0021 for a free estimate.
That’s a failed balance test, and it means the springs are no longer carrying the door’s weight. The opener is doing the springs’ job on every cycle, which shortens spring life and can strip the opener’s gear. Stop using the opener and book a service visit. Call (855) 554-0021.
A maintenance visit can measure the door’s balance, inspect the springs for visible defects, and compare the door’s cycle history to the spring’s expected life. It can’t predict a spring break with certainty, but it can tell you when the door is out of balance and the spring is on its way out, and that’s the best signal you get. Call (855) 554-0021 to schedule a maintenance visit.
Yes, but it can wait for the next scheduled slot. A door that runs fine but is past its balance test, has a stiff bottom seal, or has rust on bare metal is a “can wait” finding – schedule it before the next season turns over. A door that fails the balance test, has a broken spring, or fails safety-reverse is a “stop using it” finding. Call (855) 554-0021 and we’ll help you decide which list your door falls on.
The Bottom Line
Your garage door tells you what’s failing before it fails – a stiff seal, a hinge that works loose, a door that drifts down a few inches after you lift it. The checklist in this guide is designed to catch those warnings twice a year, in the months when Greensboro’s humidity swing is doing its work on your door’s materials. Run the safe half yourself: the visual inspection, the lubrication, the seal check, the balance test, the safety-reverse test. Leave the spring, cable, drum, and track to a technician. And when a red-flag finding turns up, stop using the door and call – not next week. We’re Tandem Garage Door Repair, we work on the door you have, and our technicians have up to 14 years of experience across the major brands. If you need garage door repair, we’ll diagnose the problem, explain what we found, and quote the price before any work starts. We also handle garage door opener repair for every major opener brand. Call (855) 554-0021 for a free estimate. We answer 24/7. Fast dispatch from 7am to 7pm, Sunday through Friday. If you’re starting to think about a replacement rather than a repair, our guide to Tandem Garage Door Repair will help you think through the options. If you’re not in Greensboro, our Greensboro page has the details on how we work.
Written by the team at Tandem Garage Door Repair.