
Last updated November 15, 2026
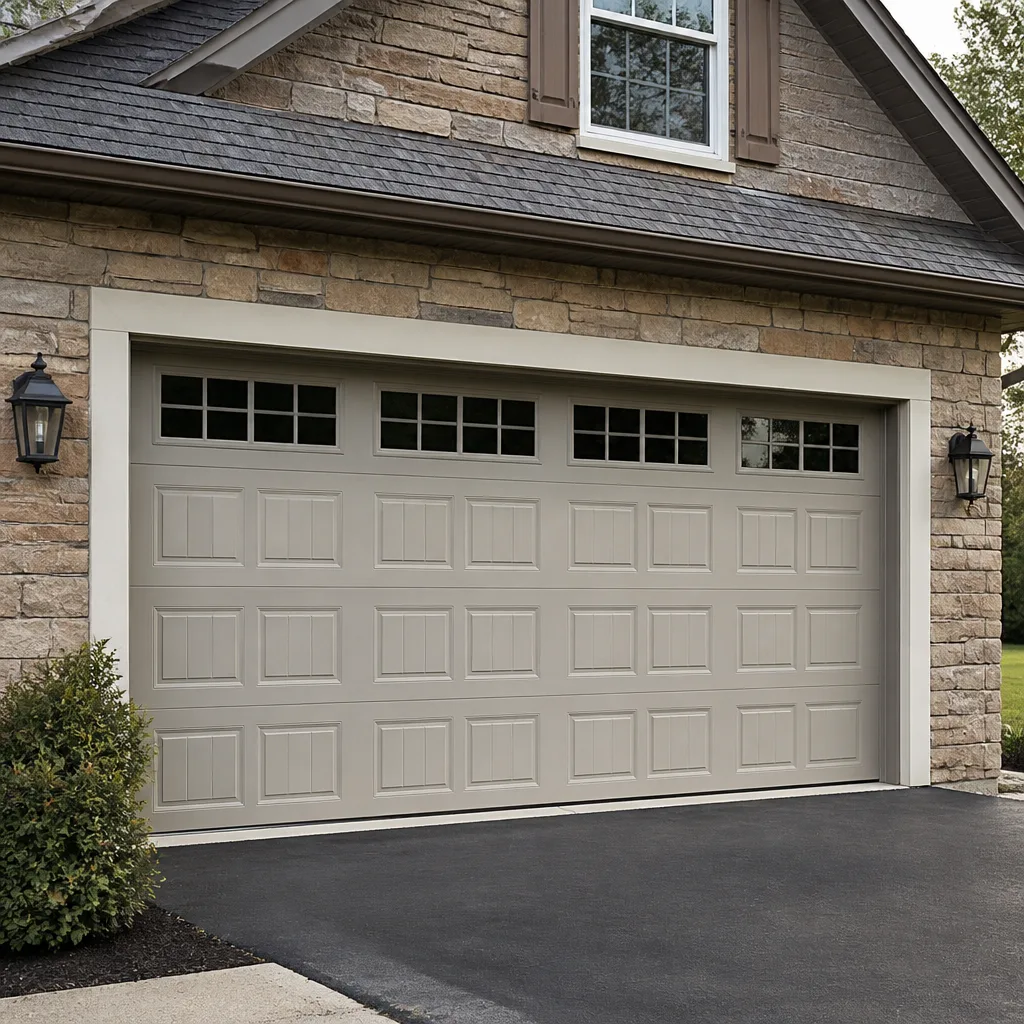 Raised-panel steel
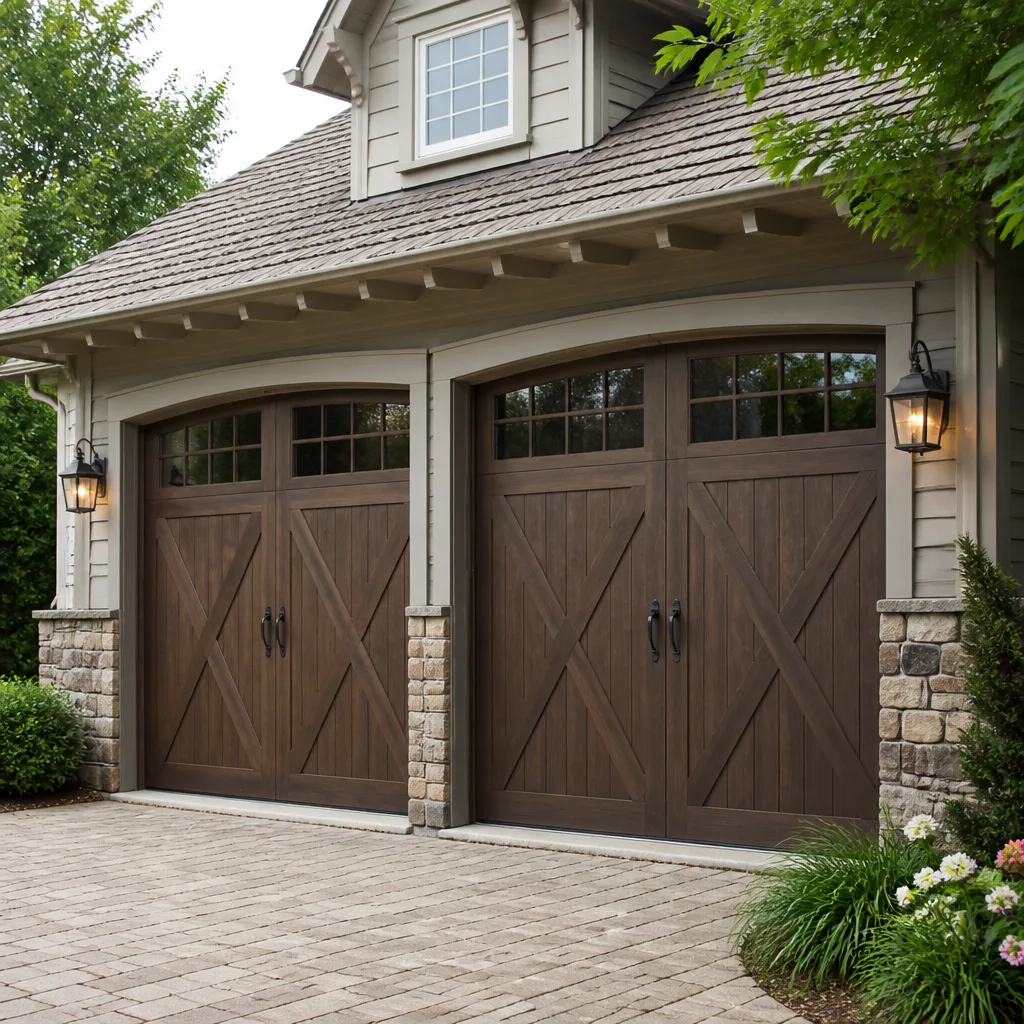 Carriage house
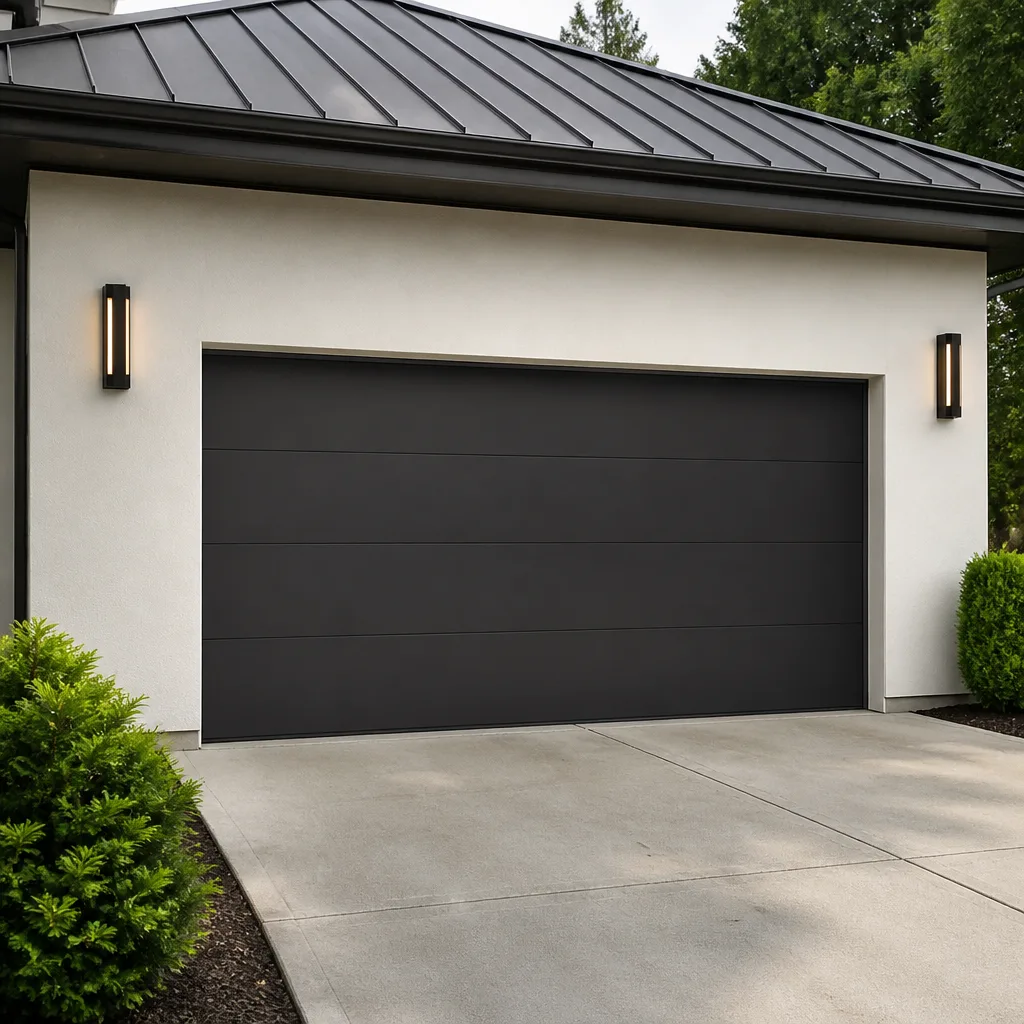 Modern flush
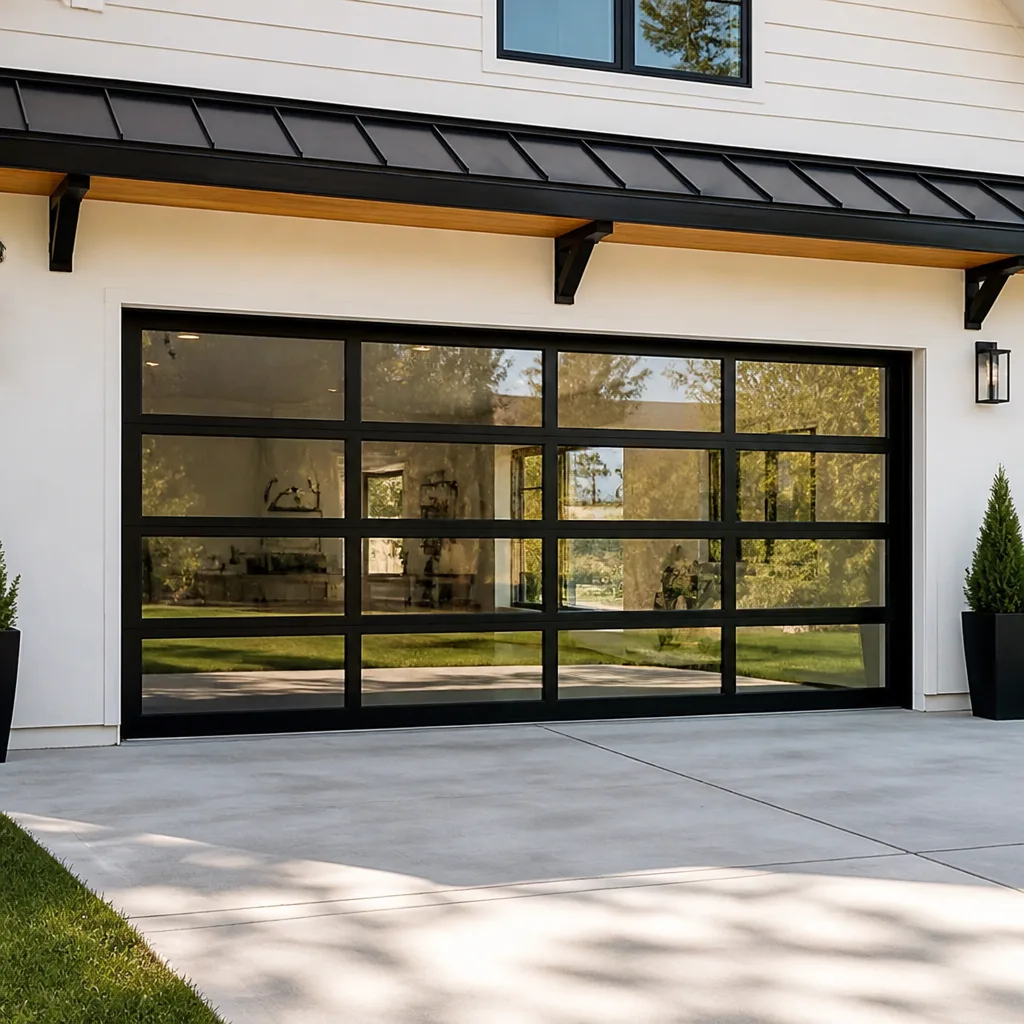 Full-view glass
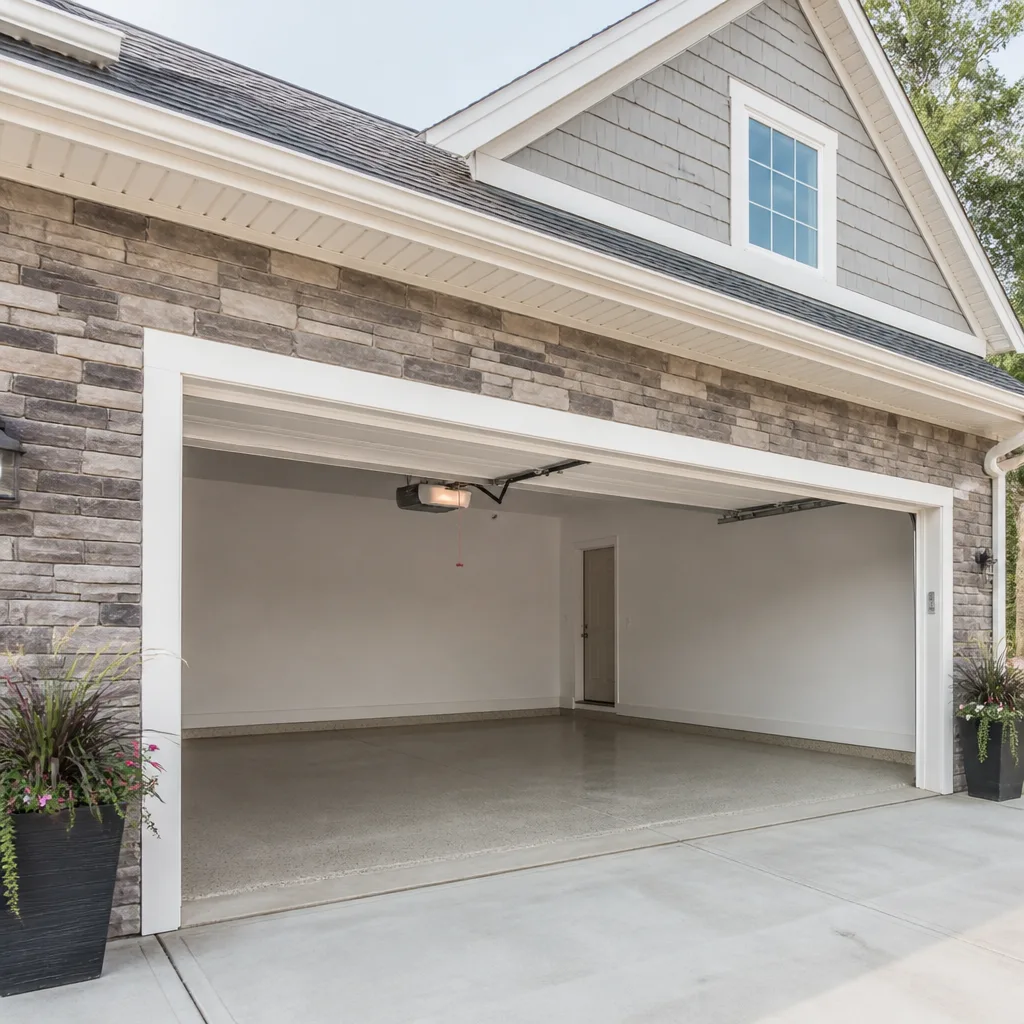 LiftMaster openers
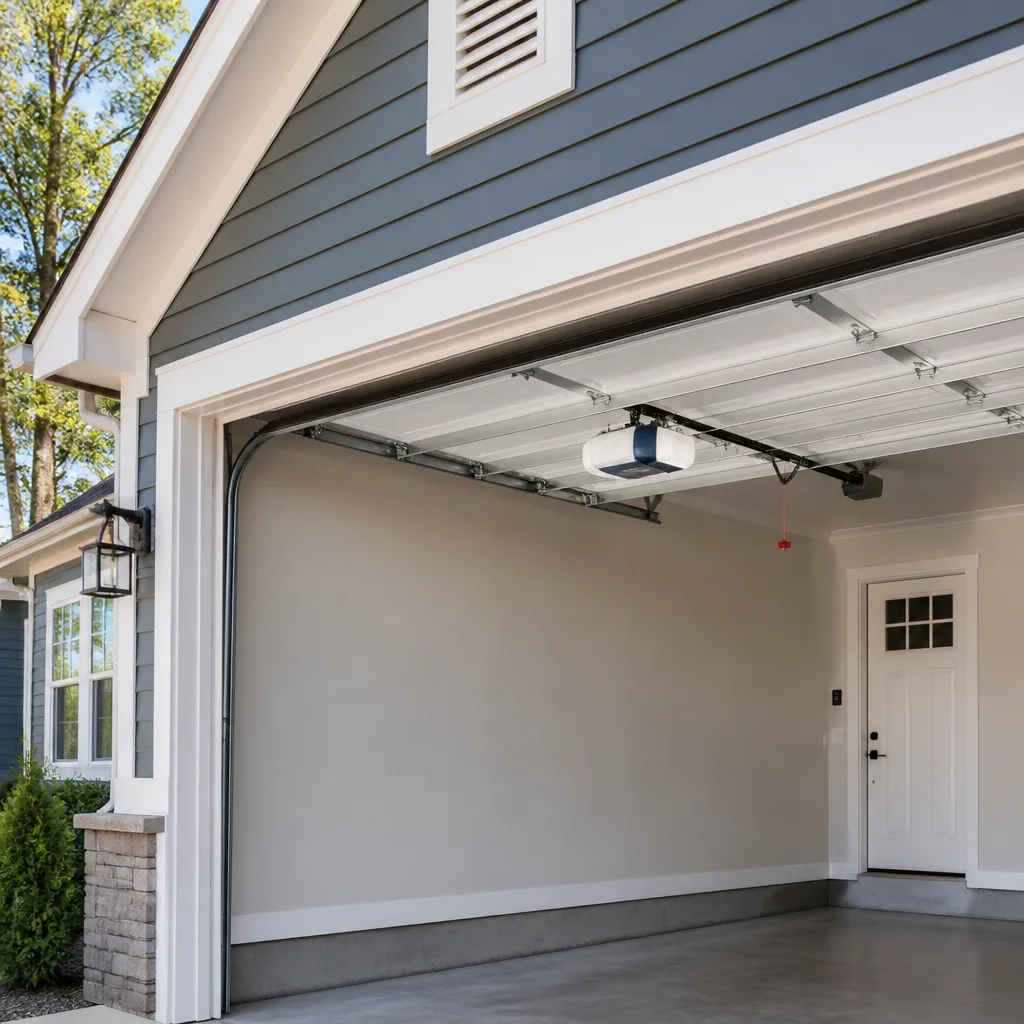 Chamberlain openers
Full 25-point door and opener safety check with every visit - springs, cables, rollers, tracks, and your LiftMaster or Chamberlain opener included
You get a price before we start. It does not change when the pro arrives.
Get your free estimateDIY vs Professional Garage Door: The Greensboro Homeowner’s Decision Guide
Most homeowners who get hurt working on a garage door are not careless. They’re confident. They’ve watched a handful of tutorials, they own a decent set of tools, and they’ve talked themselves into believing the job is simpler than it looks. The trouble is that a torsion spring doesn’t care how many videos you’ve seen. It stores enough mechanical energy to break a wrist or worse if it lets go the wrong way, and the release happens faster than any reaction time. Skill doesn’t enter into it. This guide is about drawing the line in the right place: what you can genuinely and safely do yourself on a Greensboro garage door, what you should never touch no matter your experience, and how to tell the difference before you pick up a wrench.
Quick Answer
You can safely handle weatherstripping, lubrication, safety sensor alignment, and cosmetic panel fixes yourself. You should not touch torsion springs, high-tension cables, or track realignment on heavy doors, because those tasks carry injury risk that experience alone can’t remove. Everything else sits in between and usually comes down to how comfortable you are working methodically and how heavy your particular door is.
Styles & brands we work with
- Raised-panel steel
- Carriage house
- Modern flush
- Full-view glass
- LiftMaster openers
- Chamberlain openers
Table of Contents
- Why Torsion Springs Are the Hard Stop
- What You Can Safely Do Yourself
- The Tools That Actually Matter
- How to Evaluate a Repair Tutorial for Your Door
- The Hidden Cost of a DIY Repair Gone Wrong
- Cables, Tracks, and Heavy Doors
- What Greensboro Conditions Do to Your Door
- Opener Work: Where the Line Sits
Why Torsion Springs Are the Hard Stop
A torsion spring holds your garage door’s weight in tension every hour of the day. When the door is down, the spring is wound tight and loaded with energy. That’s the whole point of its design. The moment you loosen the wrong set screw without the proper winding bars, that stored energy releases through the spring and anything in its path, and it happens instantly.
This is the single most common reason we tell Greensboro homeowners to stop before they start. The spring isn’t a part you can muscle through. You need controlled winding bars, the right knowledge of how many turns your specific door requires, and the ability to keep your body clear of the spring’s path the entire time. Even experienced technicians treat spring work with care. A homeowner doing it for the first time is taking on real risk with no margin for error.
What makes spring failure so common in Greensboro is the seasonal swing. Summer humidity and heat expand and contract the metal; winter cold makes it more brittle. A spring that’s been cycling thousands of times over several years will eventually fatigue. When it snaps, you’ll hear it, and the door will suddenly feel impossibly heavy. That’s the moment to call, not to reach for a ladder.
Our garage door repair technicians treat spring replacement as a routine job because they’ve done it many times and understand exactly where their hands need to be. That’s the difference between knowing the procedure and knowing what you don’t know about it. If your spring has broken, that’s a professional call every time.
What About Extension Springs?
Older Greensboro homes sometimes have extension springs that stretch along the horizontal tracks rather than torsion springs mounted above the door. These carry the same stored-energy risk and often lack the safety cables that newer systems include. Don’t work on them either. The energy is stored differently but the danger is the same.
What You Can Safely Do Yourself
A surprising amount of garage door maintenance is genuinely within a homeowner’s reach. None of it involves stored mechanical energy, and none of it requires lifting the door’s weight. Here’s what you can do without putting yourself at risk:
Weatherstripping Replacement
The rubber seal along the bottom of the door and around the frame wears out, especially in a Greensboro climate that swings from humid summers to chilly winters. A worn seal lets in water, insects, and drafts. Replacing it is a straightforward job: measure the width, buy the matching profile, pull the old strip out of its channel, and press the new one in. No springs involved. No risk.
Lubrication
Every roller, hinge, and pivot point on your door needs lubrication a couple of times a year. Use a silicone-based spray or white lithium grease, not WD-40 (which attracts dust and gums up over time). Apply to the hinges, the rollers, and the bearing plates. Keep lubricant off the tracks themselves, since grease in the track collects grit and wears the rollers faster.
Safety Sensor Alignment
The two small sensors near the floor on either side of the door need to face each other cleanly. If the door reverses unexpectedly, check that nothing is blocking either lens, wipe them clean, and adjust the bracket so the indicator lights on both units glow steady. That’s often all it takes.
Minor Panel Dents
Small dents in steel panels can sometimes be worked out with a suction cup or a rubber mallet and a block of wood behind the panel. Cosmetic only. If a panel is creased or the door no longer runs straight, stop and call a technician.
Track Cleaning
Wipe the inside of the tracks with a damp cloth to remove dust and debris. Don’t lubricate them. A clean, dry track lets the rollers move freely.
The Tools That Actually Matter
You don’t need a full workshop to handle the safe tasks. But a few specific items make the difference between a job that goes smoothly and one that goes sideways. Here’s what we’d put in a homeowner’s kit for garage door maintenance:
- A socket set with the right sizes. Most hinge and bracket bolts are 7/16 or 1/2 inch, but sizes vary by manufacturer. Having the right socket prevents stripped heads.
- Silicone-based lubricant spray. Not WD-40. Silicone stays clean and doesn’t collect grit.
- Adjustable locking pliers. Useful for holding a bracket steady while you tighten a bolt.
- A level. For checking that the door sits evenly and that sensor brackets are plumb.
- Work gloves. The inside edges of garage door panels are sharp.
- A good flashlight or headlamp. Much of the hardware sits in shadow.
- A tape measure. For weatherstripping, you need the exact width.
What’s not on this list: winding bars, cable pullers, or any tool designed to release tension. If a job needs one of those, it’s not a homeowner job.
How to Evaluate a Repair Tutorial for Your Door
YouTube is a genuinely useful resource, but only if the video matches your exact system. A tutorial for a Chamberlain B970 opener often doesn’t apply to a LiftMaster 8500W even though both are made by the same parent company and share design language. The internals, the travel limits, the force settings, and the Wi-Fi module all differ. Watching the wrong video can lead you to adjust a setting that wasn’t meant to be touched on your model.
Before you follow any tutorial, check these things:
- Does the video name your exact model number? Not just the brand. The model. The number is usually on a label on the back panel of the opener or on the inside of the door panel.
- Is the door type the same? A sectional door, a one-piece tilt door, and a carriage-style door all have different hardware. A tutorial for one won’t apply to the others.
- Does the uploader show the inside of the unit? If they’re only showing the exterior, they’re probably guessing.
- How old is the video? Older units and newer units often look alike but differ internally. A five-year-old video may not match what’s in your garage.
- Does the tutorial show the safety step? A credible tutorial will tell you to disconnect the opener and secure the door before working. If it skips that, close the tab.
We’ve seen homeowners in Greensboro chase a problem for an afternoon because they followed a video for a Genie unit when their door had a Wayne Dalton opener with a completely different logic board. The fix was simple once the right system was identified. Getting there took longer than it should have.
The Hidden Cost of a DIY Repair Gone Wrong
A botched spring replacement is the most expensive example we see. When a homeowner tries to wind a torsion spring without the right bars and it slips, the spring often gets bent or the shaft gets damaged. Now the technician isn’t just replacing a spring; they’re replacing the spring, the shaft, and possibly the bearing plates. In our experience, that kind of recovery typically runs 40 to 60 percent higher than the cost of having the spring replaced correctly the first time.
The same pattern plays out with tracks and cables. A door knocked off its track because someone tried to force it back into alignment can bend a track section that then needs replacing. A cable that slips its drum can damage the drum and the bracket. Each of those turns a single-part repair into a multi-part one.
The reason isn’t that professionals charge a penalty for fixing DIY work. It’s that the damage is real and the parts add up. The written estimate always reflects what’s actually needed, and that’s the price you pay. If you’ve already tried a repair and it didn’t go well, tell the technician what you did. It saves diagnostic time and gets you to a working door faster.
We’re not trying to talk anyone out of doing the safe jobs themselves. What we want is for Greensboro homeowners to know exactly where the line sits, so a small project doesn’t become a large one.
Cables, Tracks, and Heavy Doors
Cables run along the sides of the door under significant tension. On a torsion system, they’re connected to the spring shaft and hold the door’s weight on each side. Replacing a cable means managing that tension, and if a cable snaps free while you’re working on it, it whips with enough force to cause serious injury. This is not a task we recommend for any homeowner, regardless of mechanical experience.
Track realignment is a different kind of risk. On a light door, a small adjustment to a track bracket can solve a rubbing issue. On a door over 300 pounds, the forces involved are substantial. If the track has shifted, the door may be straining against it, and adjusting the track in the wrong direction can cause the door to drop or bind. For heavier doors, call a professional.
How do you know if your door is in the 300-pound range? Insulated steel doors and double-wide doors are often in that territory. If you can’t lift the door easily by hand when the opener is disconnected, treat it as a heavy door and leave the tracks alone.
What Greensboro Conditions Do to Your Door
Greensboro’s climate puts garage doors through a specific kind of wear. Summers are humid, which affects the wood components in older doors and can cause swelling that binds the door in its tracks. Winters bring occasional freezing temperatures, and a door that’s been sitting through a cold snap can be stiff the first few times you open it in the morning. Those temperature swings also stress the springs, which is why spring failures tend to cluster in the transition seasons.
Pollen season is another factor. Greensboro gets a heavy spring pollen load, and that dust settles into the tracks and the opener’s moving parts. A quick wipe-down of the tracks and a light re-lubrication in late spring pays off. We’d suggest doing it after the pollen has settled, not during.
The housing mix also matters. Many Greensboro neighborhoods have homes built in the 1970s through the 1990s, and the garage door openers from that period are often still in service. Those older units, whether a Craftsman from that era or an early Genie, may not have the safety features that current models do. If your opener is more than fifteen or twenty years old and hasn’t been serviced, it’s worth having it checked.
Weatherstripping in Greensboro also takes a beating from the summer humidity and sun exposure. Replacing it every few years keeps rain and insects out of the garage, which protects everything stored inside. This is one of the jobs that’s squarely within a homeowner’s skill set.
Opener Work: Where the Line Sits
Some opener issues are homeowner-friendly. Others aren’t. The dividing line usually comes down to whether the work involves the electrical components or the force and travel settings.
Safe opener tasks
- Battery replacement in the remote. Easy and safe. Match the battery type to the remote.
- Reprogramming a remote. Follow the manufacturer’s steps, usually printed on the back of the opener’s motor housing.
- Sensor alignment and cleaning. Straightforward and low risk.
- Checking the safety reverse. Place a piece of wood flat on the floor under the door. If the door doesn’t reverse when it hits the wood, the opener needs adjustment, and that’s a professional call.
- Resetting a Wi-Fi connected opener. Smart openers from LiftMaster and Chamberlain sometimes need a network reset, and that’s a simple app or button-press procedure.
Tasks that should go to a technician
- Force and travel limit adjustment. These settings control how hard the door pushes and where it stops. Get them wrong and the safety reverse can fail.
- Logic board replacement. Working inside the opener housing with the power on is a shock risk.
- Gear and sprocket replacement. These require disassembling the unit and resetting the travel after reassembly.
- Any work that involves the opener’s capacitor. A capacitor can hold a charge even after the power is off.
When you’re not sure, our garage door opener repair team can diagnose it in one visit. Diagnosed, not guessed. That’s the difference between a fix that holds and one that keeps coming back.
Common Mistakes to Avoid
- Trying to wind a torsion spring without the right bars. Two screwdrivers won’t do. The spring can release without warning, and the injury risk is real. This is the mistake that sends people to the emergency room.
- Following a tutorial for the wrong model. A Genie tutorial doesn’t apply to a LiftMaster. Check the model number on your unit before you follow anything.
- Over-lubricating the tracks. Grease in the tracks collects grit and wears out rollers faster. Keep the tracks clean and dry.
- Ignoring a door that reverses on its own. That’s a safety sensor issue or a force setting problem. Either way, it needs to be fixed before someone gets hurt.
- Forcing a door back onto its track. If the door has come off the track, don’t try to push it back. The cables may be slack, and the door could drop.
- Skipping the disconnect before working near the opener. Pull the emergency release and unplug the opener before working anywhere near the moving parts.
- Assuming a new door is a DIY project. Installation involves measuring, ordering, and aligning panels. That’s a measured, scheduled job, not an afternoon project.
See the difference
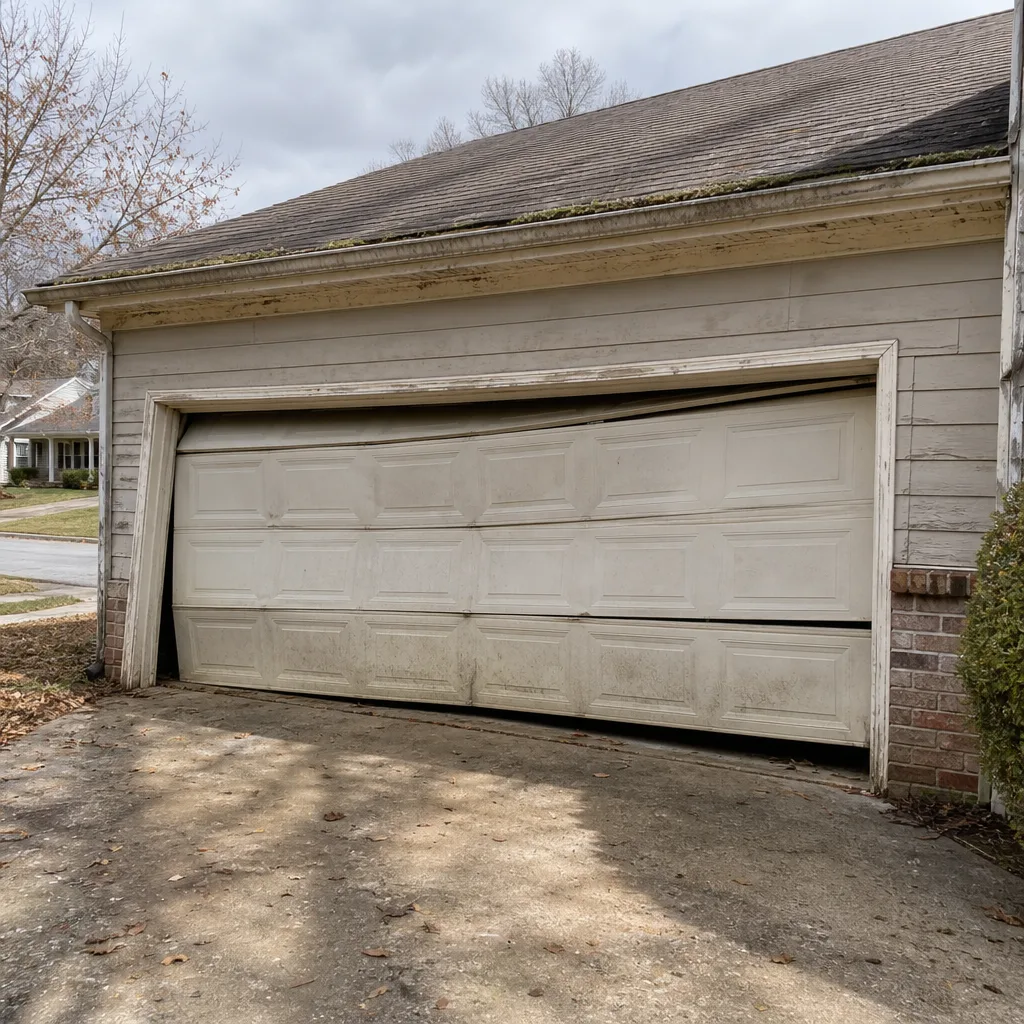 Before
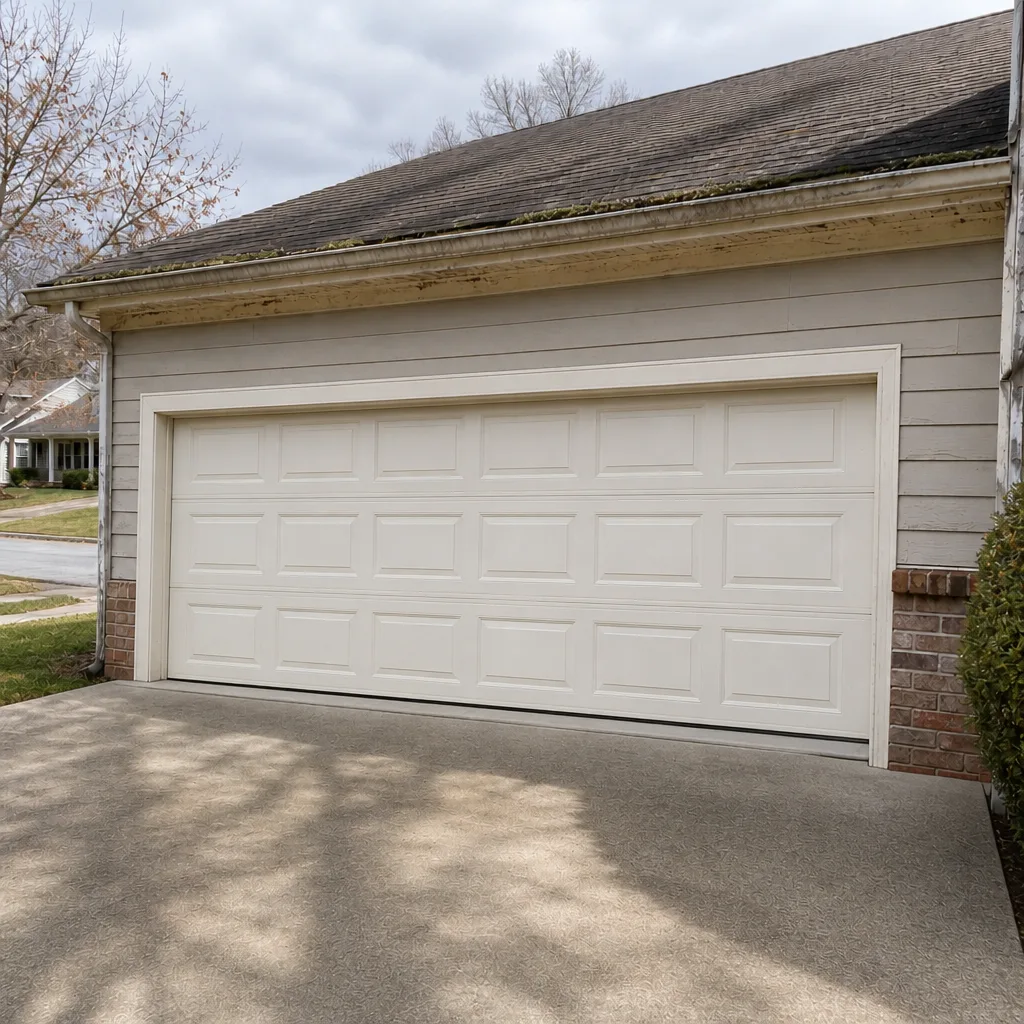 After
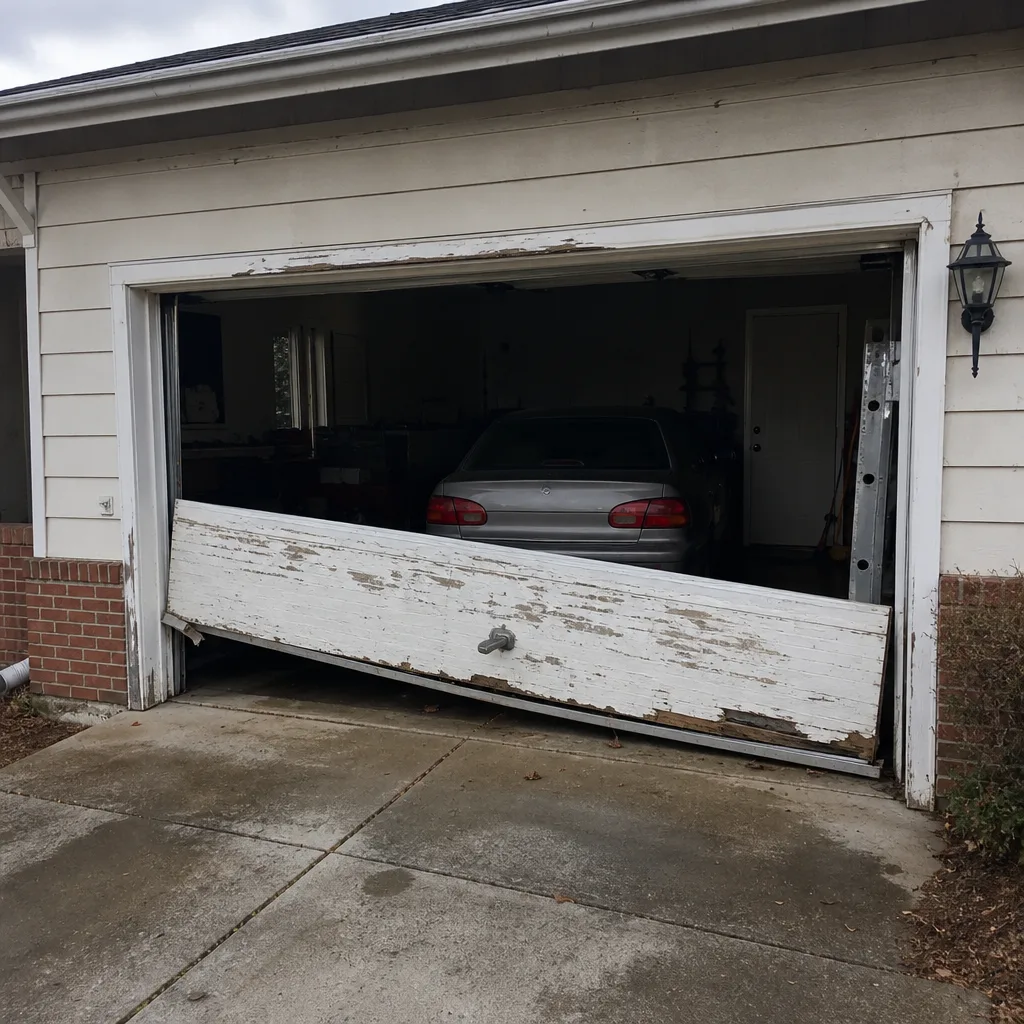 Before
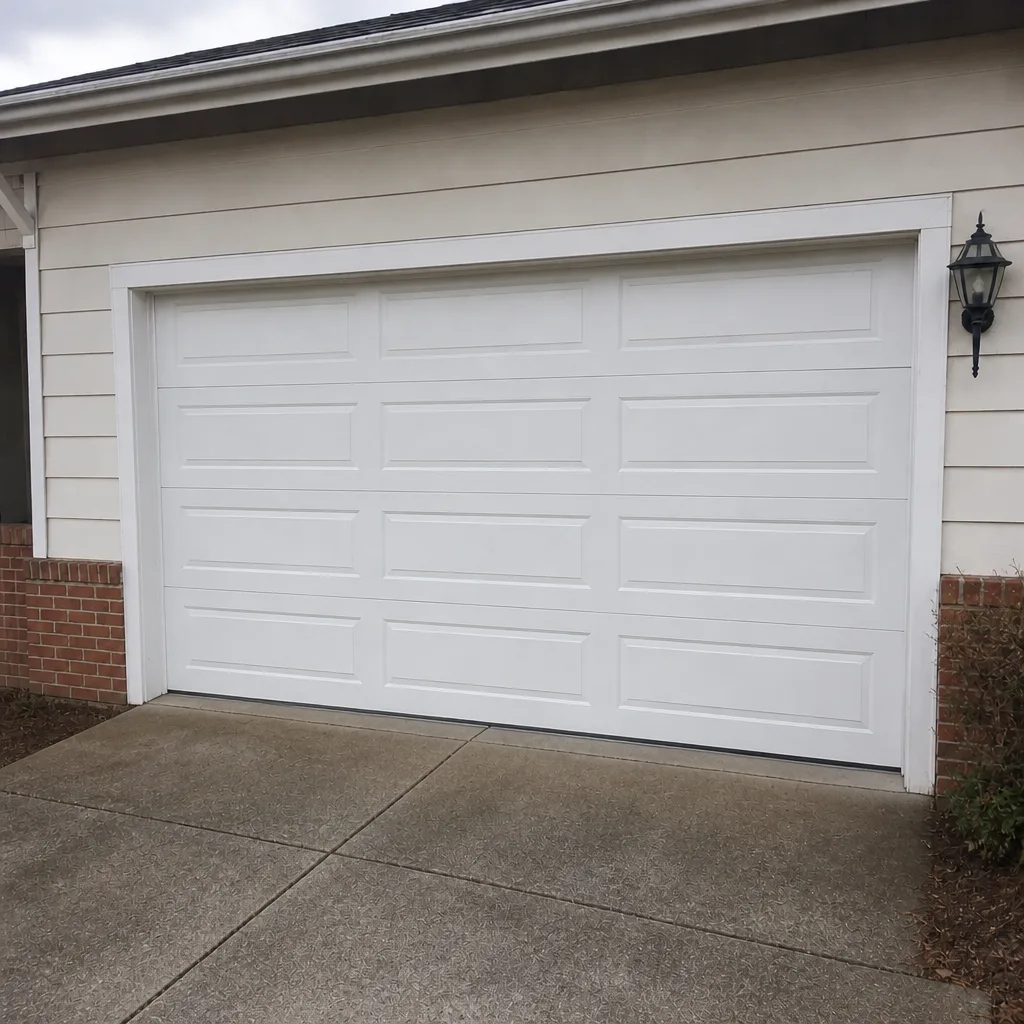 After
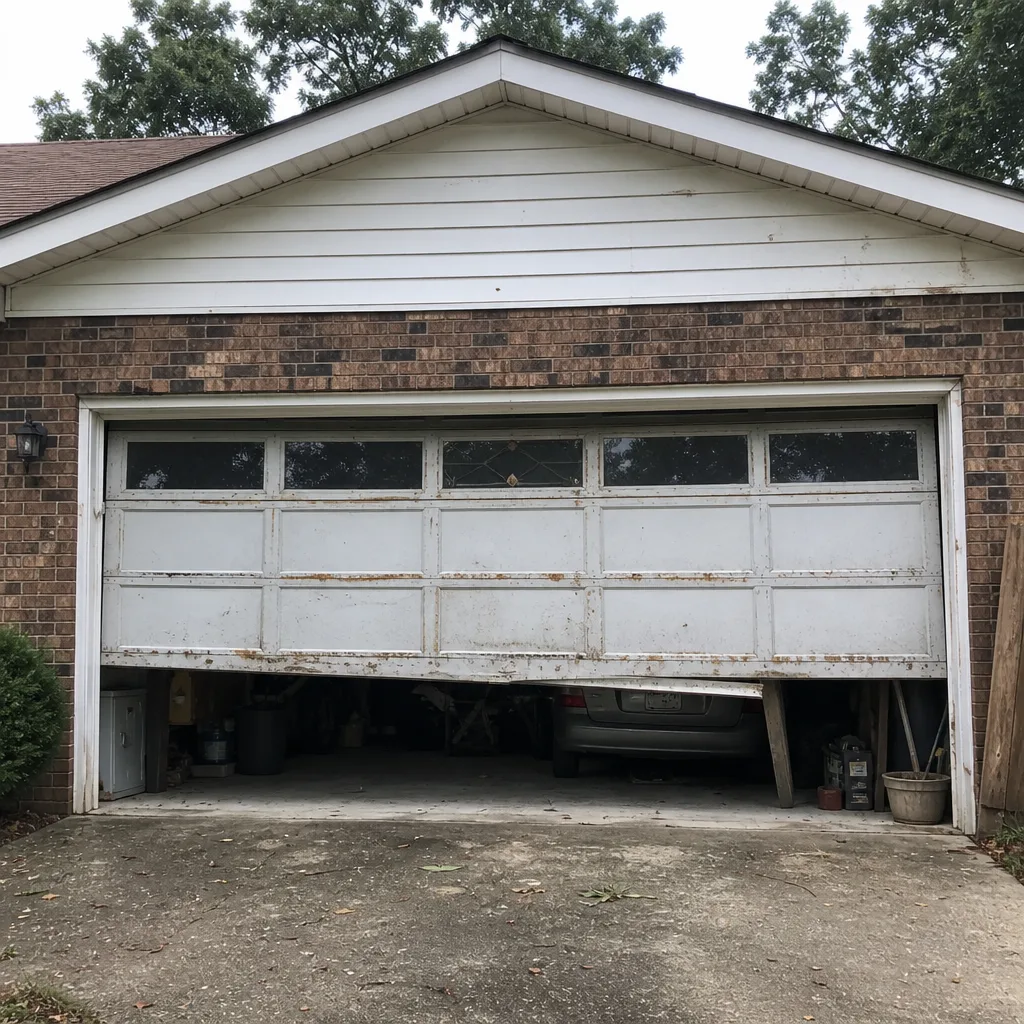 Before
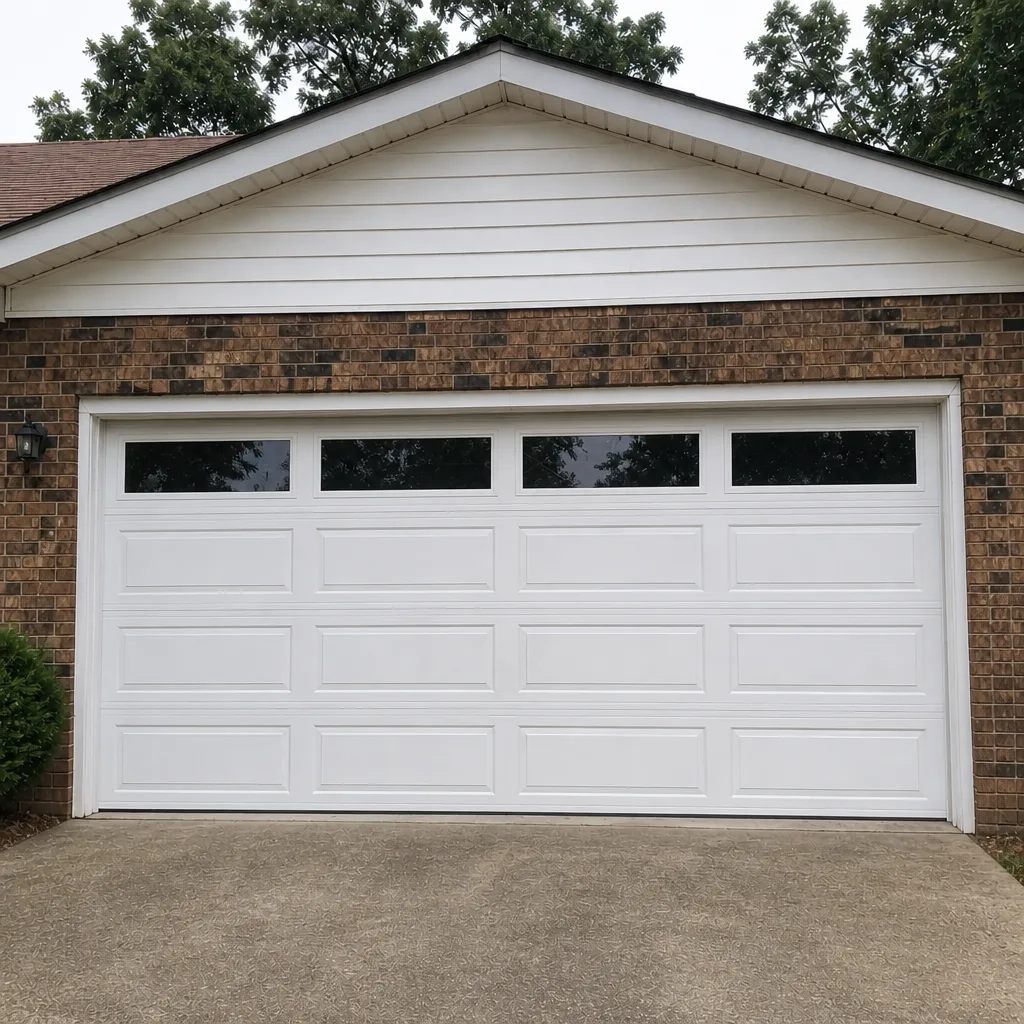 After
When to Call a Professional
Call a professional for anything involving torsion springs, high-tension cables, or heavy-door tracks. Also call if the door reverses unexpectedly, if the opener won’t respond to the remote but works from the wall switch, or if the door has come off its track. These are the situations where the fix involves either stored energy or electrical components, and the risk of a wrong move outweighs any savings from doing it yourself.
If you’ve tried a repair and it didn’t solve the problem, stop. A second attempt on the same issue often causes more damage than the first. In our experience, a technician can usually diagnose what went wrong and get the door working in a single visit.
For Greensboro homeowners, Tandem Garage Door Repair offers free estimates. Call (855) 554-0021. We answer 24/7. Fast dispatch from 7am to 7pm, Sunday through Friday. Our technicians are trained and experienced working on products from LiftMaster, Chamberlain, Genie, Clopay, Amarr, Wayne Dalton, Craftsman, and Raynor, so they work on the door you have, not a close approximation.
Frequently Asked Questions
No, and we’d recommend against it even for homeowners with strong mechanical skills. A torsion spring stores a large amount of energy, and releasing it improperly can cause serious injury. The winding process requires specialized bars and knowledge of the correct number of turns for your specific door. Call (855) 554-0021 for a free estimate on spring replacement.
Weatherstripping replacement, lubrication, safety sensor alignment, track cleaning, minor panel dent removal, and remote reprogramming are all within a homeowner’s reach. None of them involve stored spring energy or high-voltage components. If your repair involves a spring, cable, track realignment on a heavy door, or the inside of the opener, it’s a professional job. Call (855) 554-0021 and we’ll walk you through what’s needed.
Even though Chamberlain and LiftMaster share a parent company and similar design elements, the internal components, travel limit settings, and Wi-Fi modules differ by model. A tutorial must match your exact model number, not just the brand. Check the label on your opener before following any video. If you’re not sure which model you have, call (855) 554-0021 and a technician can identify it.
In our experience, a botched spring replacement typically costs 40 to 60 percent more to fix than if a professional had done the job correctly the first time. The extra cost comes from damaged shafts, bent bearing plates, or track sections that need replacing. Call (855) 554-0021 for a written estimate before any work starts.
Most cities require a permit for a garage door replacement that changes the door’s structure or size, but the rules vary. Ask Greensboro’s building department directly before you schedule the work. A professional installation team will know what’s needed and can help you plan for it. Call (855) 554-0021 to schedule a free measure and a written price.
If the door reverses unexpectedly, if the opener hums but doesn’t move the door, if the remote doesn’t work but the wall switch does, or if the door doesn’t fully open or close, these point to opener issues that need diagnosis. Force and travel settings, logic boards, and capacitors are all professional repairs. Call (855) 554-0021 to book a diagnostic visit.
The Bottom Line
The DIY-versus-pro question for a Greensboro garage door isn’t about your skill level. It’s about which tasks carry physical risk that skill can’t mitigate. Weatherstripping, lubrication, sensor alignment, and minor panel fixes are genuinely within reach. Torsion springs, high-tension cables, and track work on heavy doors are not, no matter how many tutorials you’ve watched. When you’re not sure, the written estimate sets the price and a professional diagnosis saves time, money, and risk. Call (855) 554-0021 for a free estimate. We answer 24/7. Fast dispatch from 7am to 7pm, Sunday through Friday. Tandem Garage Door Repair works on the door you have, and we’ll tell you plainly what it needs. You can also learn more about the Tandem Garage Door Repair team and the Greensboro neighborhoods we serve.
Written by the team at Tandem Garage Door Repair.